Thursday 30 October 2014

Dream Big

Taking photos is a part of my scrapbooking that often takes up the most time. Maybe this is because I am a little particular but more than often than not, getting that perfect photo just doesn't happen for me. This is due to the fact also, that my children whom I love to photograph, are getting to that age where it is just plain embarrassing getting your photo taken by Mum. Yes my eldest two are teenagers now, but my youngest is the most obliging. This photo of my youngest was taken some time ago, about the same time that I purchased my DSLR. So lets just say I was out practicing getting my settings right, right..........no this was just pure luck I say.......just shoot and click and wahla!

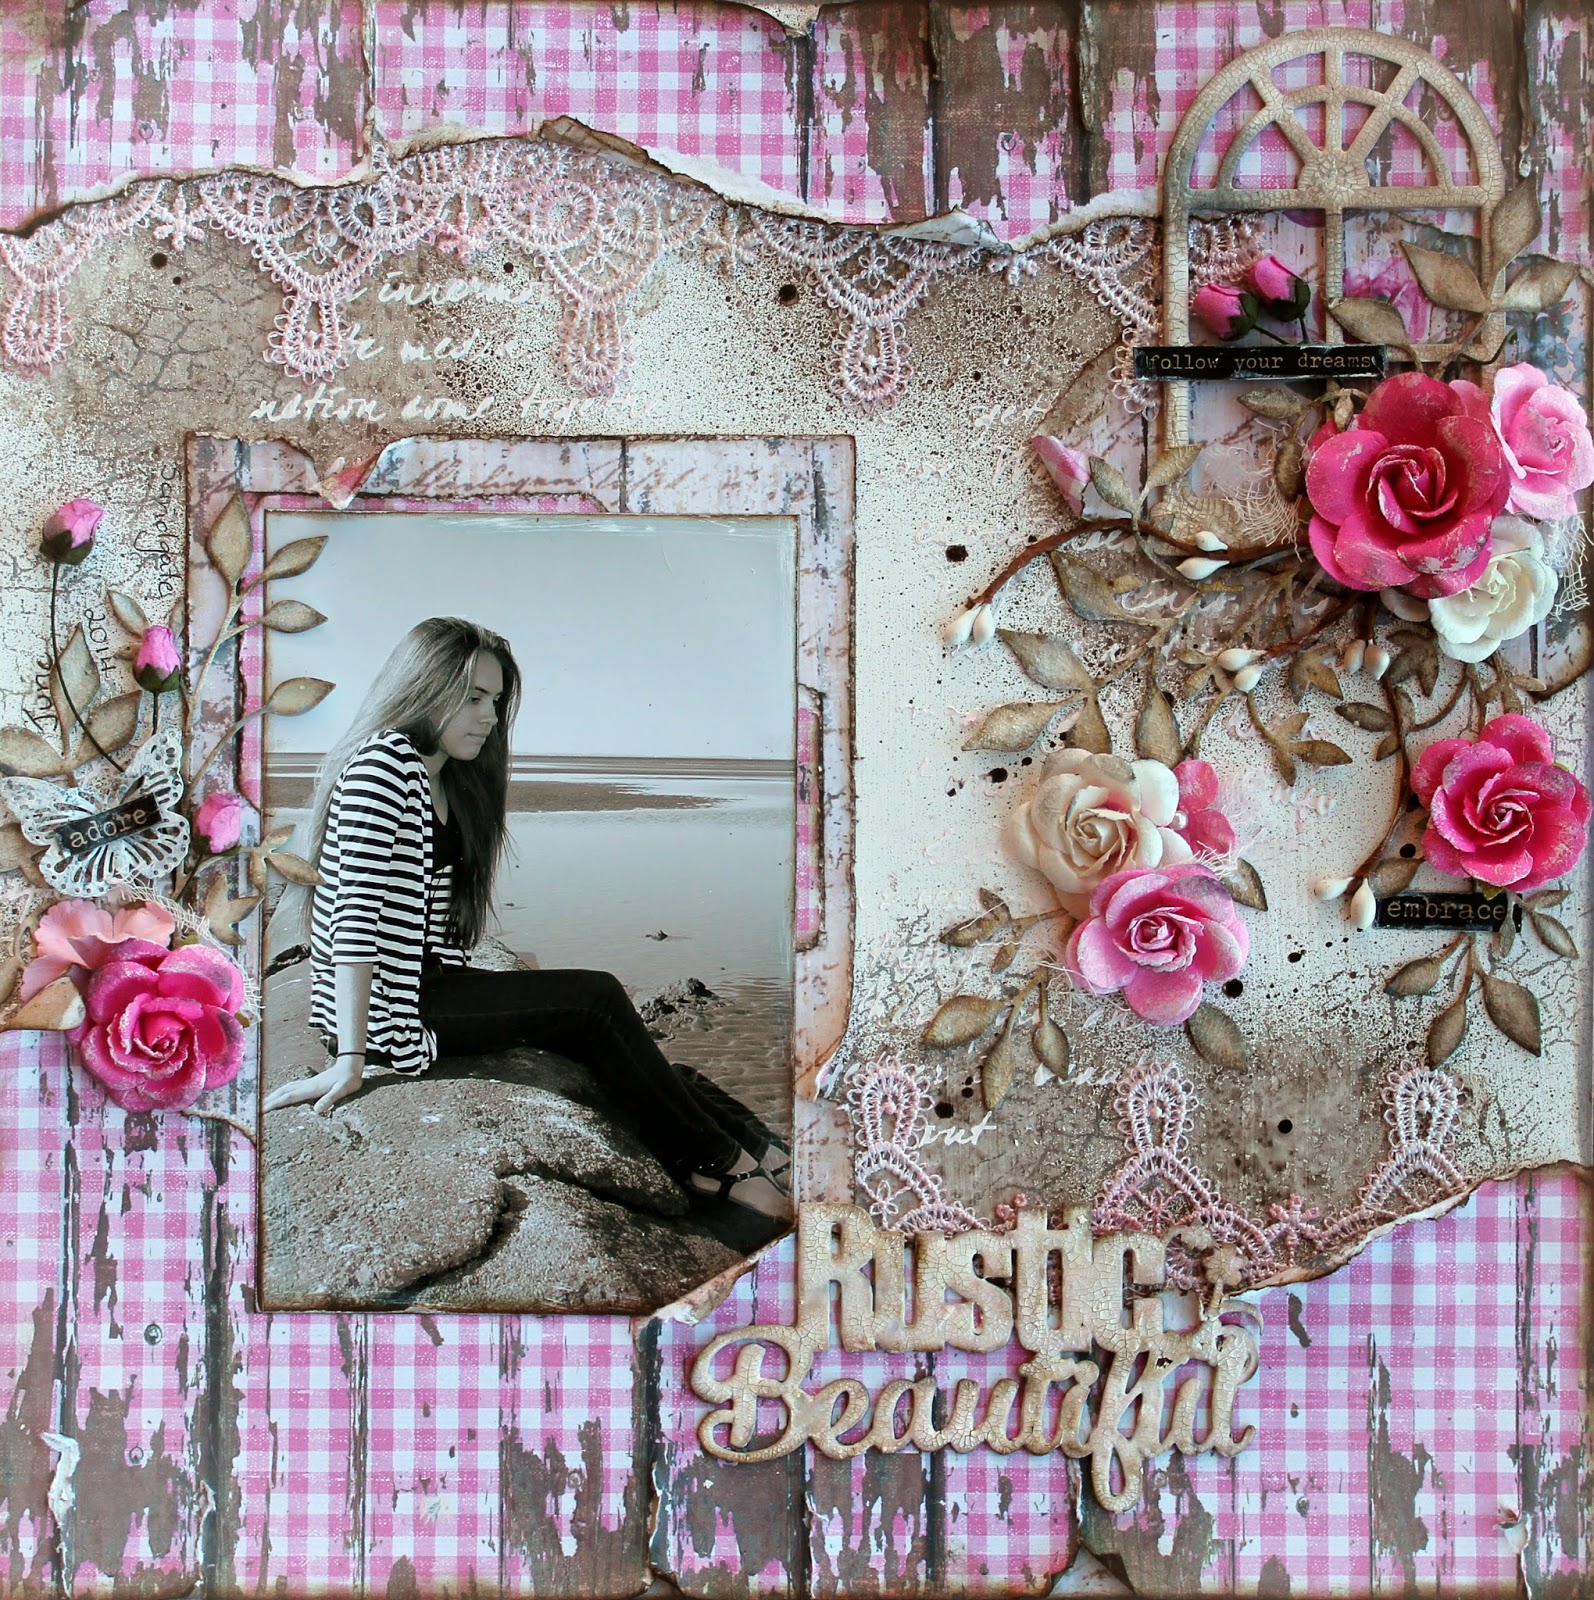
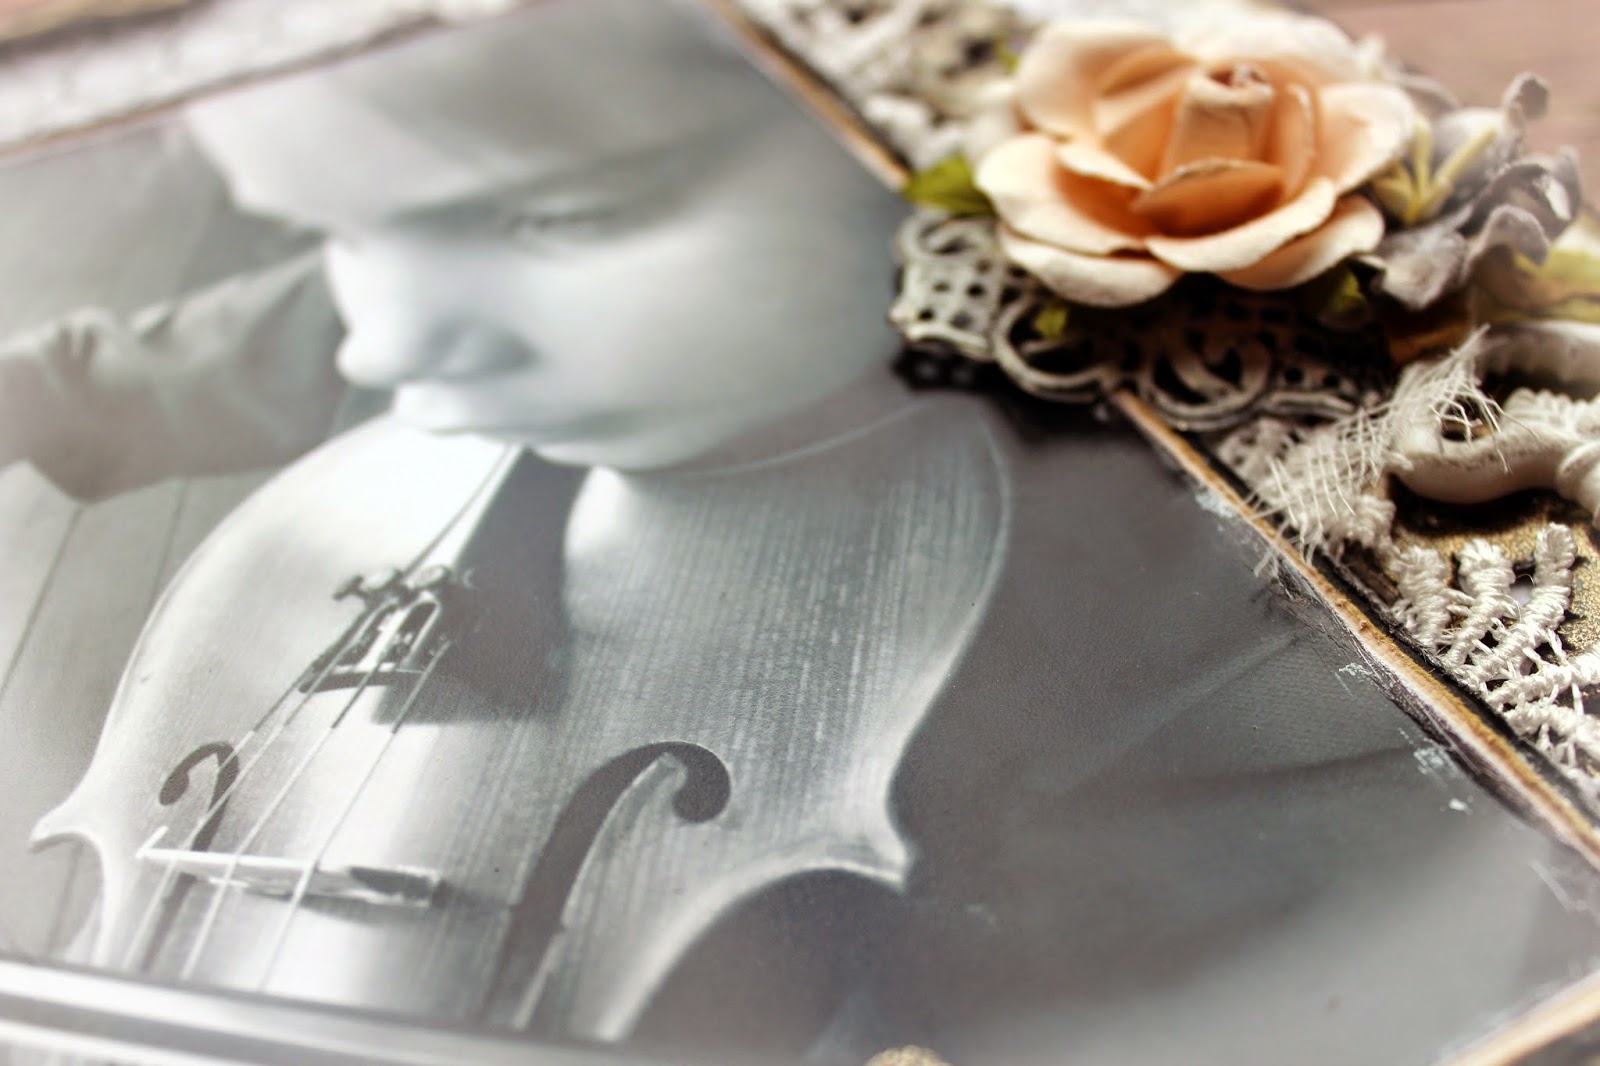
I love this photo of little "C".....in her own little world, doing her thing that she loves to do.......making beautiful beautiful sounds with her violin. She has now been playing for 4 years and those sounds are becoming more sweeter and ever so more rewarding. She practices some afternoons it seems forever, but never do I have to ask her to, which is even sweeter because she loves nothing more than to get each piece just right.....bit of a perfectionist!

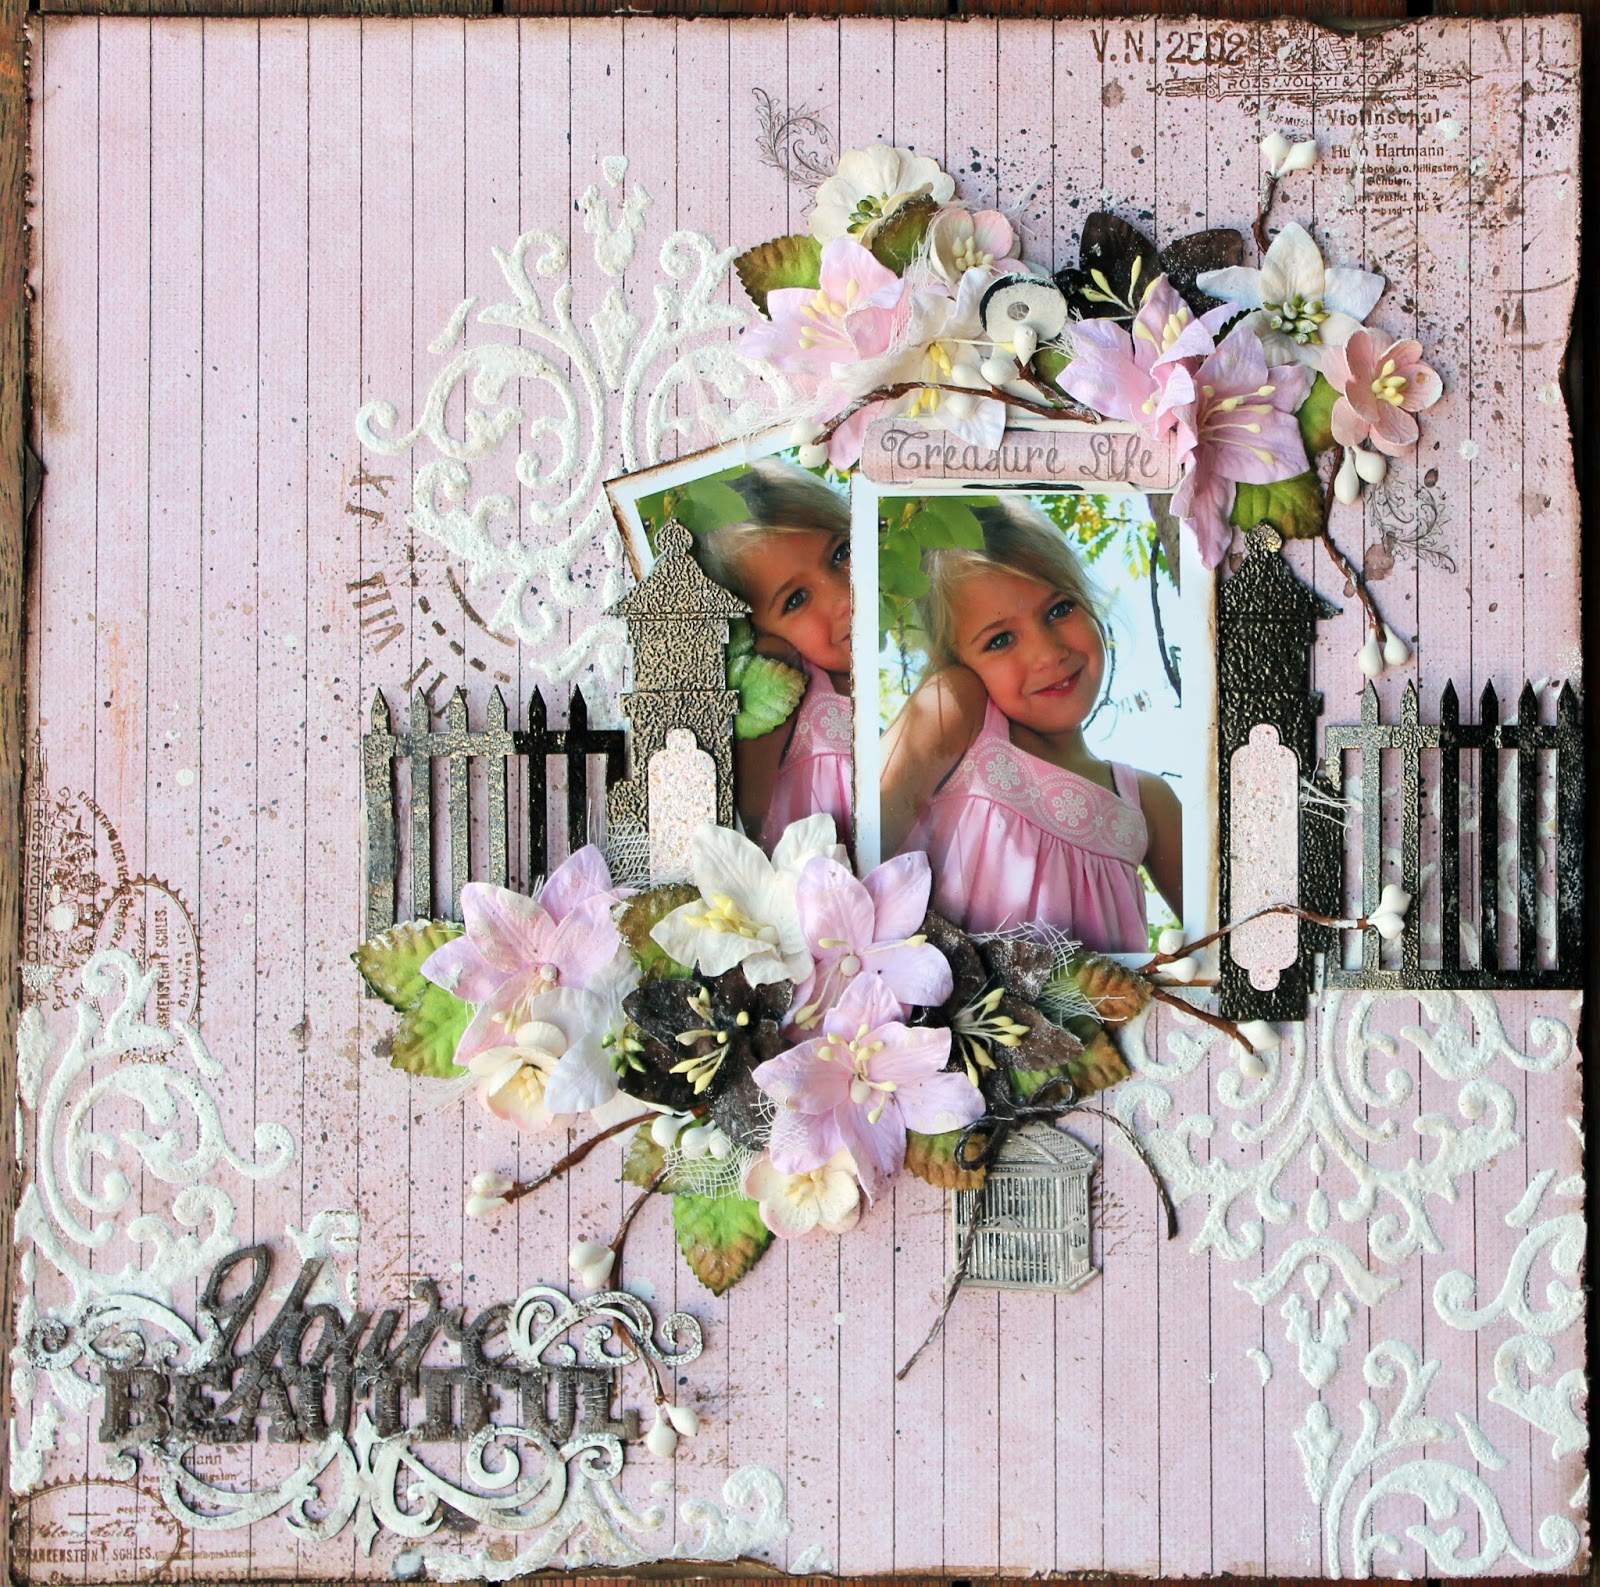
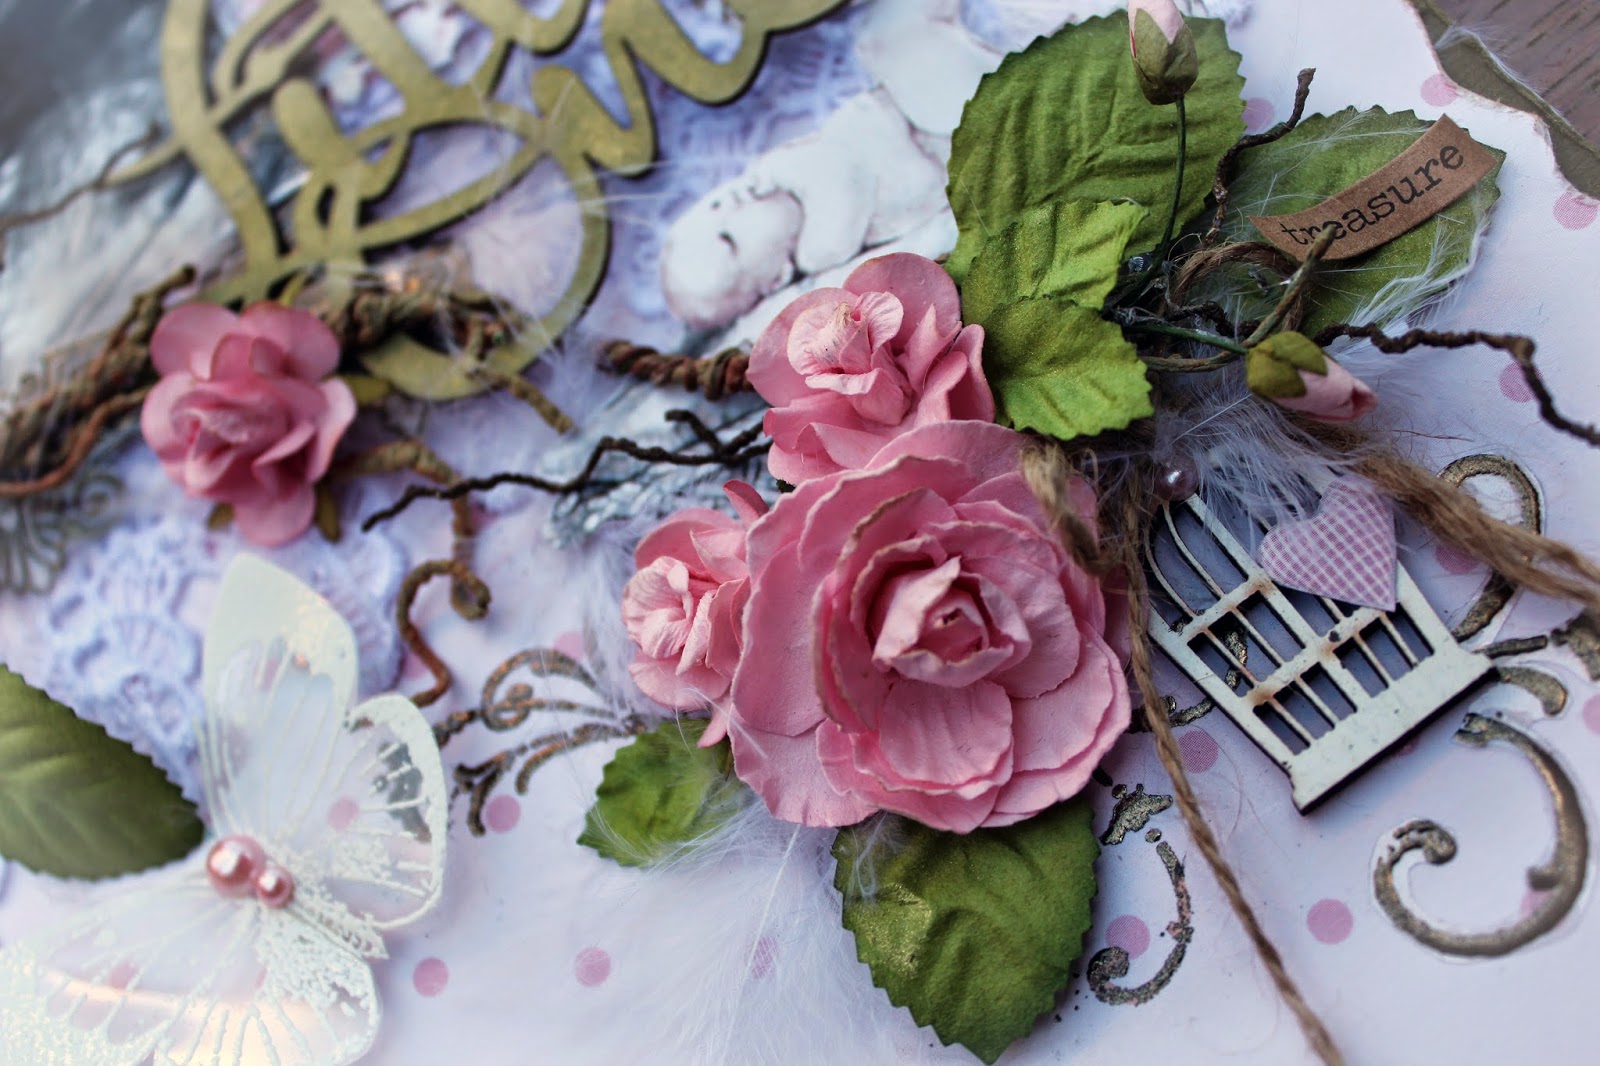
For this layout which I have designed for Fabscraps I have used the new collection "Elegant Chic". I am in absolute awe of this new collection. So very adaptable as you can see here. I have titled this "Dream Big".


The Dream Big chipboard title is actually from the previous range "Royal Baby" which I posted last week. It had a little elephant on the side of the words which I have just cut out. All the chipboards here are just delish!!


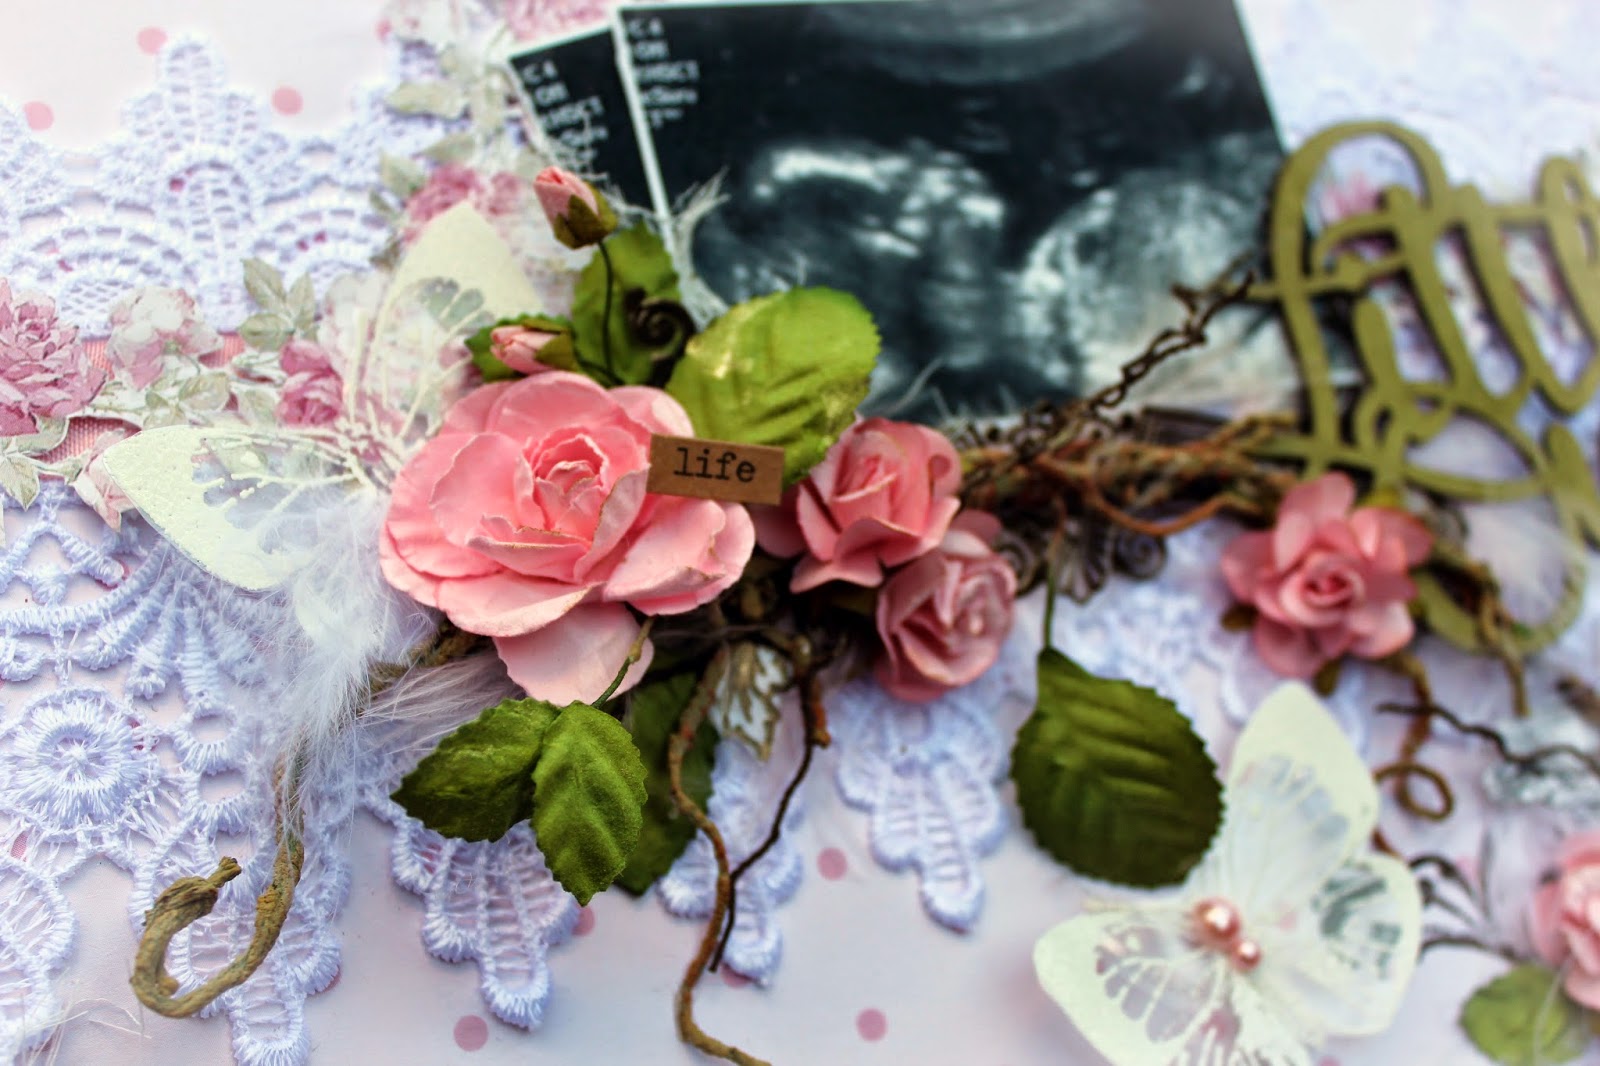
Here you can see the bird which has been cut from a page of the journal book. This journal book is full of beautiful cut-outs to co-ordinate with this collection of papers. 


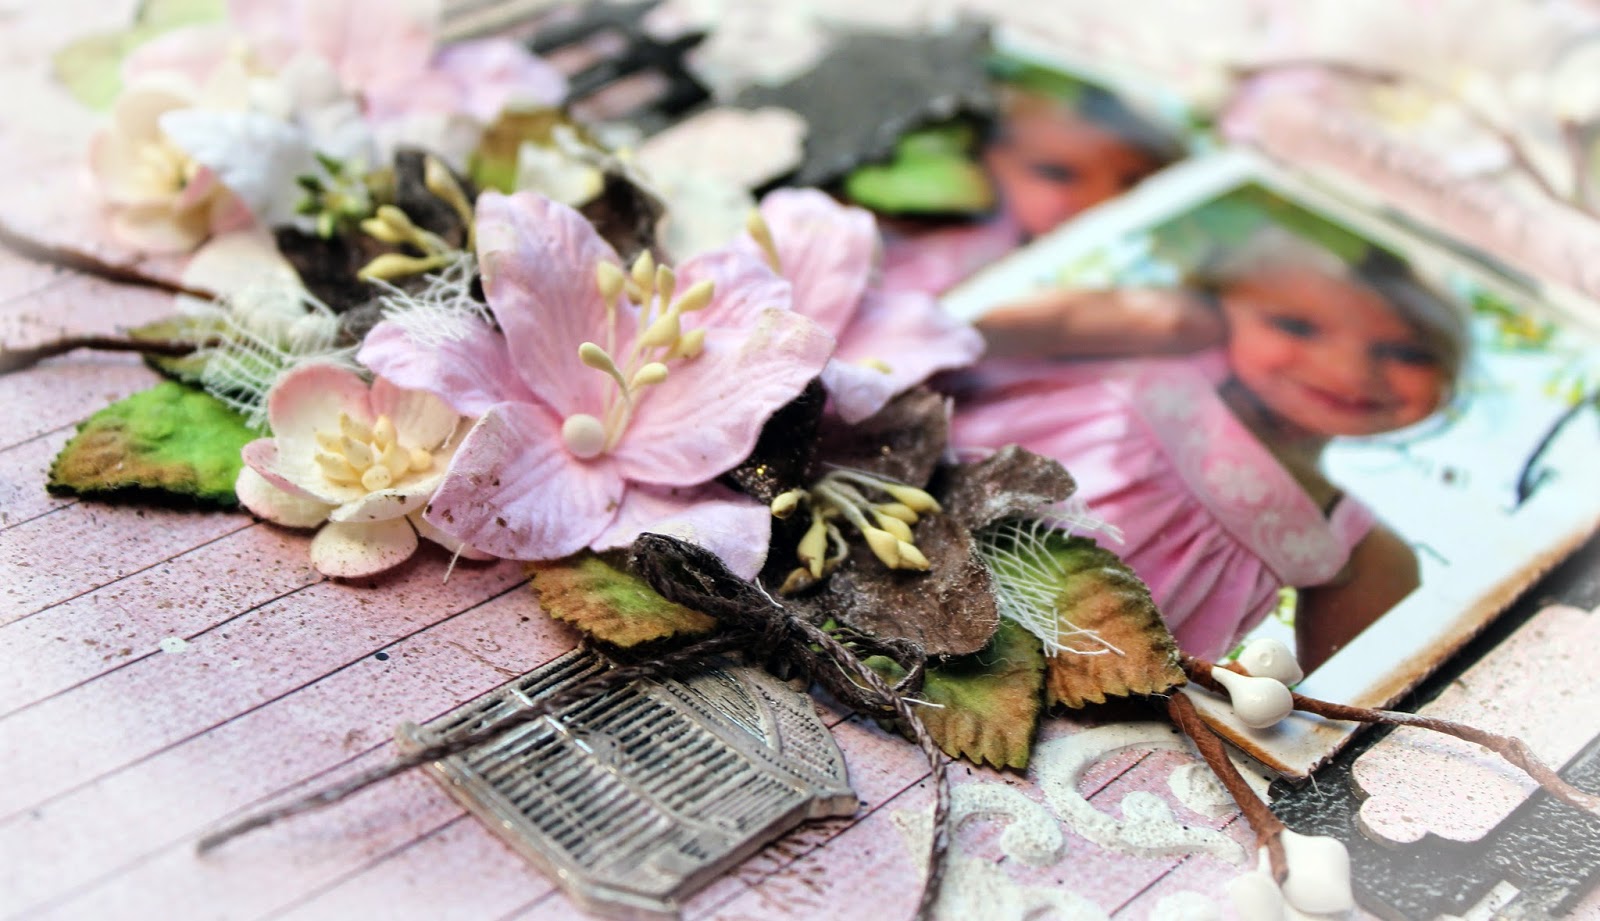
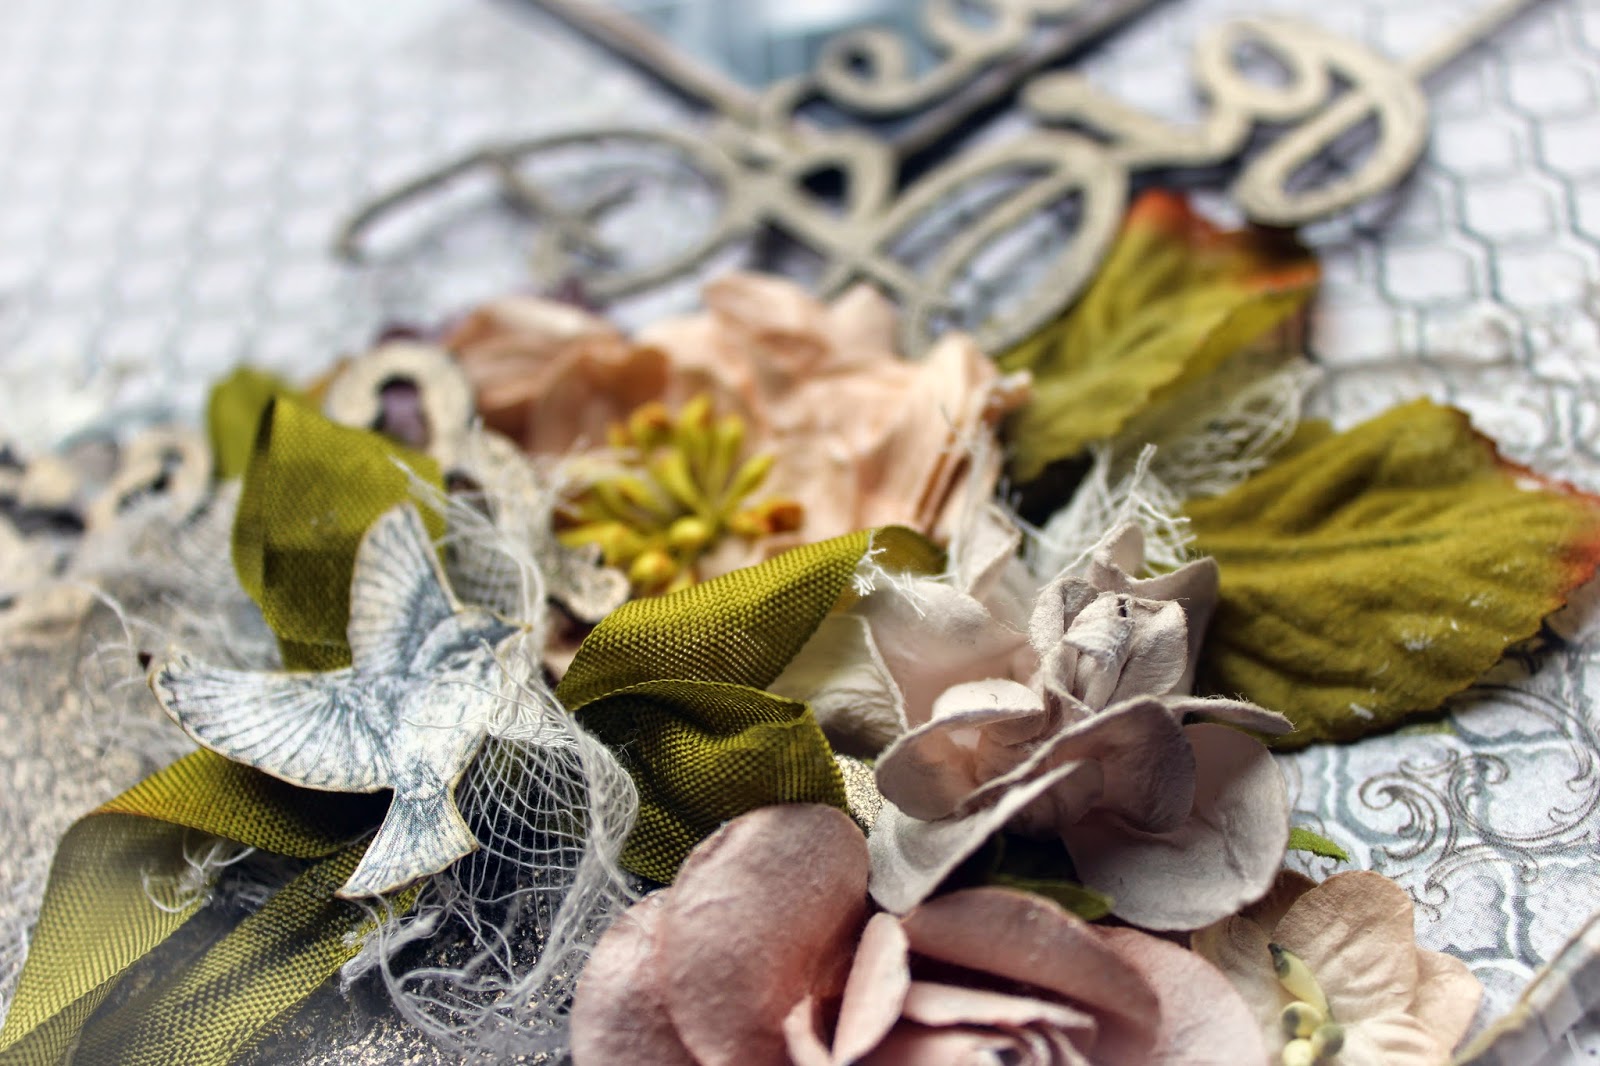
Above and below here you can see these beautiful Fabscraps Charms. I have simply gessoed this and heat set to sit below the flower. The other charms were also gessoed and cut up and tucked here and there around the flower clusters.

                            
From another angle.....


Here you can see the beautiful beautiful Filigree Flourish Stickers.......gorjus!!


Well that is all from me today. I hope you have enjoyed your visit here. If you would like the materials list and instructions for this layout ......keep scrolling down.

Happy Scrapping

Tina xx


Materials Used for "Dream Big":

  • Fabscraps Elegant Chic C71 008 (Honeycomb)
  • Fabscraps Elegant Chic C71 007 (Fleur)
  • Fabscraps Elegant Chic C71 009 (Chipboard Frame)
  • Fabscraps Elegant Chic C71 010 (Chipboard Filigree Long Frame)
  • Fabscraps Elegant Chic C70 003 (Chipboard "Dream Big")
  • Fabscraps Elegant Chic Filigree Stickers ST71 001
  • Fabscraps Elegant Chic Journal Book C71
  • Fabscraps Filigree Charms
  • Black / Chocolate and Cream Cardstock
  • Black and White Photo (Portrait) 4 x 6 inch
  • Lindy's Stamp Gang Embossing Powder (Twilight Slate Bronze)
  • Distress Ink (Old Paper)
  • Lace
  • Seam Binding
  • Assortment of Flowers and Leaves
  • Resin Key
  • Cheesecloth
  • Gesso 

Instructions for "Dream Big":

  1. Firstly prepare all chipboard pieces and charms. Take chipboards and emboss with Twilight Slate Bronze powder. The centre piece of the frame was done a little differently to give a different texture. What you will need to do is prepare it as you normally would and shake off excess powder but then wipe off more powder to give a very worn look. Once all your chipboards are embossed wipe over with a dry brush of Gesso and leave to dry. You can also wipe over the charms with a good coating of gesso and while you have your brush out dry brush your flowers and leaves a little too.
  2. Take Black cardstock and cut a photo mat from the centre and distress both pieces heavily. Take chocolate cardstock and distress very heavily. Adhere the chocolate to the black base. Wipe around edges of base with gesso. Do the same for the photo mat. Cut a smaller mat from the cream cardstock and adhere to the black photo mat base. Sand the edges of your photo and adhere to photo mat base.
  3. Take Fabscraps "Fleur" and trim 1cm from one side and the top. Distress very heavily and ink with a little Old Paper distress ink. If you don't have Old Paper use some that has a green tinge to it. Adhere Fleur to the middle of cardstock base. 
  4. Take "Honeycomb" and cut a rectangular piece measuring 20cm x 29.5cm. Distress heavily and ink top and bottom with Old Paper. Adhere this piece to the centre of layout as shown.
  5. Take lace - use something small and place back to back at each join on the Honeycomb edges. Adhere using double sided tape. Then run a strip of seam binding over each lace join.
  6. Mount one half of your photo and adhere to the right top of layout as shown.
  7. It's time to now start embellishing. Cut your long chipboard frame in half and tuck and the right of the photo coming out from underneath lace as shown. Mount large filigree frame on foam tape and adhere in the centre of long frame and over the side of the photo. Arrange some flowers and a leaf and hang a key from this. 
  8. On the left lower side of layout arrange your flowers to work around the Chipboard frame. Take a little more seam binding and tape it to the back of the centre piece of chipboard. Bring it around in front and tie a bow at the right side. Cut a flying bird from a page in your Journal Book, ink the edges and mount onto some foam tape and adhere to centre of bow. Mount Frame onto foam tape and adhere atop to arranged flowers.Tuck in a little cheesecloth behind seam binding and bird and around flower clusters. Add leaves and sticker flourishes and frame. Cut a Filgree charm in half and tuck in around flower clusters.
  9. Lastly adhere "Dream Big" title and your layout is now finished.
  10. Just frame and hang!


Sunday 26 October 2014

One Fine Day


Welcome back.........great to see you here again. Today I have a Fabulicious Design Team creation to share.  For this layout I have used the newly released Elegant Chic Collection from Fabscraps. I have never been so happy to use a range.........soooooooo very beautiful. In the coming weeks you will see a lot of my layouts made from this most gorgeous collection.
I have titled this layout "One Fine Day". I have used a black and white photo of my youngest from a few years back when she was only a toddler enjoying a day at one of her siblings sports days.
If you keep scrolling I have included close-ups and a materials list followed by instructions on how to complete this. 


The Elegant Chic collection for Fabscraps is totally beautiful. The journal book is a must have piece of the collection for me. It has so many co-ordinating bits and pieces to adorn your layouts. For this layout I have used the Fence / Gate and cut in two removing the actual Gate. From the patterned papers I have made my own tags by cutting a rectangle and trimming the corners, punching a hole at the top and adhering a ring. Threaded through a little jute and tied and bow. I have also cut the title from a scalloped shape and cut it in three and tucked the other two pieces in and around the photo.


For this layout I have used so many differing flowers. These grey flowers here are from Petaloo but I have also used some Kaisercraft and Green Tara flat flowers along with a few older Prima flowers sitting around in my stash.


You can see here the crackle on the chipboard Treillis with the white seeping through. I added some strands of cheesecloth to soften the layout a little. And also here you can see the transparency flourish down the bottom and top of page. Be sure if you are making these that you cut the images with only a little border left around it. Otherwise it is very noticeable.


Well that's all today from me. Stay tuned for more upcoming creations starring the "Elegant Chic"collection from Fabscraps. Hope you enjoyed being here today and I hope to see you back here again.

Happy Scrapping 

Tina xx


Instructions

1. Take Shabby Flowers and Punch out sections randomly on three sides as seen in layout. Then cut off three sides that you have punched at 2.5 cm strips. Distress each strip and square piece from centre. Distress chocolate cardstock and adhere pieces of Shabby Flowers atop of cardstock.
2. Randomly stamp using Distress Ink (Walnut Stain) and Archival Ink (Jet Black).
3. Take White Lace and cut three large sized tags measuring 14.5cm x 7.5cm. Ensure that you use the differing patterns on White Lace. I have used the plain pink with the lace on top, the chevron and the grey floral piece. Distress and ink with Walnut Stain Distress ink or similar. Adhere to page as shown and then tie a little white jute to two of the three tags.
4.Take one Oval Frame and give it two coats of white gesso. Once dried completely emboss using Jamara embossing folder. Trim the edges of Oval Frame and gently ink a little Pumice Stone Distress Ink and Walnut Stain Distress Ink over raised areas of embossing and frame edge. Adhere photo behind oval frame and then mat onto a piece of distressed grey cardstock measuring 12.5 x 16.8cms. Adhere atop of the tags ensuring it is central to layout.
5. Cut a die piece from Sizzix Treillis using some old cardstock or chipboard. Give it a medium coat of Distress Crackle Paint - Brushed Pewter. Leave to dry. Once dry spritz with Dylusions (White Linen) ink spray. Wipe away excess with baby wipe and rip into a few pieces. Adhere around your page as shown.
6. From your Fabscraps Journal Book take out the large Fence. Cut out the gate from the centre and adhere each other fence side either side of your photo.
7.From your Fabscraps journal book cut the "One Fine Day" tag very carefully. Cut into three sections and distress and if desired ink edges. Arrange and adhere around the photo as shown. Also cut the banner titled "Extra Special Times". Distress and ink this and pop it at the right top in a torn area of your layout. Arrange a little bit of white cheesecloth behind this.
8. Make transparency flourishes using embossing powder as previously noted in instructions for "Little One" see blog post. Once set fussy cut your flourishes. I made two flourishes and cut them down smaller and arranged around clusters as shown in layout.
9. You can now start to embellish your layout with flowers, Birdhouse resin, handmade flourishes and cheesecloth.
10. Your layout is now ready to frame and hang!!

Materials List


  • 1 (4 x 6 inch) Black and White photo
  • Fabscraps Elegant Chic - White Lace C71 004
  • Fabscraps Elegant Chic - Shabby Flowers C71 005
  • Fabscraps Oval Frame - DC71 013
  • Fabscraps Elegant Chic Journal Book - MC71 001A
  • Fabscraps Butterfly Charm
  • Lindy's Stamp Gang Embossing Powder - Midnight Bronze Obsidian
  • Versa Mark Embossing Ink
  • Tansparency Paper
  • Assortment of Flowers Pink, Grey, Brown, White/Cream
  • Acrylic Stamps - Flourish (Crafty Individuals - Cl-182)
  • Stamps - Postal and Spool Tops
  • Martha Stewart Border Punch - (Garden Rail)
  • Sizzix / Tim Holtz Die - (Treillis)
  • Ranger Distress Inks - Walnut Stain, Pumice Stone
  • Archival Ink - Jet Black
  • Ranger / Tim Holtz Distress Crackle Paint - Brushed Pewter
  • Dylusions White Linen ink spray
  • Prima Resin Birdhouse
  • White Cheesecloth
  • White Jute
  • Hole Punch
  • White Adhesive rings
  • Embossing Folder - Cuttlebug - Jamara
  • Grey and Dark Chocolate Cardstock


Saturday 18 October 2014

"Rustic Beautiful"


Welcome back. Today I have a share of a layout completed for my Fabulicious Design Team!
I have used Fabscraps- Industrial Chic collection which I have fallen head over heels in love with. This is my first time to create with pinks and browns and I can't wait to create another!!
If you keep scrolling I have listed materials and full instructions for you to do at home!!

Enjoy!!


"Rustic Beautiful"
and some closeups........


I have prepared a mixed media background using mists, texture mediums, random stamping
 and distress inks.


Using a foliage die I have made my own branches from leftover scraps and some mediums. 


A close-up of the Fabscraps Window!!! Looooove this window. You can see the crackle effect on the window and leaves of the foliage. Have also tucked in a little muslin to soften the layout and a touch of gesso to the flowers to soften the intensity of the pink.


I have also tucked in a little lace.


And another close-up. Hope you have enjoyed your visit here. Remember if you keep scrolling the Materials are listed along with Instructions.

Tina xx


Materials:

Fabscraps Industrial Chic C67 002 x 1
Fabscraps Window and 1 TagDC60 010 x 1
Fabscraps "Rustic Beautiful" DC 67 007
Fabscraps Butterfly Metal Embellishment
Gesso
Glimmermist Tattered Leather
Texture Medium
Derivan Acrylic White Paint 
Ranger Crackle Accents
Distress Inks Black Soot, Walnut Stain, Spun Sugar
Ranger Distress Crackle Paint - Picket Fence
Distress Ink Pumice Stone Dye Ink
Cotton Bud
Hand dyded lace and muslin
Assortment of Stencils
Assortment of Stamps
Pussy Willow branch
Prima Flowers
I Am Roses (rosebuds - hot pink)
Collections Word Sheet
Memory Box Die Fresh Foliage

Instructions:

1. Prepare a media background firstly coating the back of cardstock or chipboard with gesso and dry. Apply mists, texture medium through an assortment of stencils and some random stamping using distress inks. Leave to dry.

2. Tear Fabscraps Industrial Chic C67 002 at top and bottom. Makes tears at board sections and adhere to layout top and bottom. Tear a third piece to use reverse. This will sit at right of layout beneath Window.

3. Tuck in some lace top and bottom as shown and adhere.

4. With remainder of C67002 cut a Photo Mat (12.5cm x 17.5cm) and tear at base. Tear another piece and cut as a torn photo mat using the pink Cheque side. Distress and ink. Adhere these together and adhere sanded photo on top. Adhere to layout as shown.

4. Cut three die foliage branches using cardstock and coat generously with gesso a couple of times. Ink with Walnut Stain randomly. Apply Crackle Accents and leave to dry. Apply a little Black Soot once dry.

5. Take Fabscraps Chipboards and apply gesso generously and dry. Apply inks and a medium coat of Distress Crackle Paint and leave to dry overnight. Ink randomly to finish.

6. Apply gesso to the Fabscraps Metal Embellishment (butterfly).  Once dry apply ink.

7. Changing the colour of the stems of rosebuds is a little time consuming but well worth taking the time to do. I pulled away the base of the rosebud and using Pumice Stone ink dye and a cotton bud I coated stem and base generously and left to dry. Once dry adhere base to rosebud again. Apply a little gesso to pink flowers and leave to dry. A touch of black soot around edges also.

8. You can now start to embellish page with dried elements prepared earlier.

9. Your layout is now ready to frame and hang!!


"You're Beautiful"

As I had promised......."Elegant Chic" the gorgeous new collection from Fabscraps. I can't get enough of these papers. But if you think the papers are to die for wait until you see the chipboards!!

It's been a busy week here at our place with Violin exams and Taekwondo training for upcoming black belt grading, but I did manage to fit this in and around all that was going on. I have used a chipboard from this same range for my title "You're Beautiful". The photo I have used is of my little Cydne doing what she once loved to do all the time. Climb trees. At this stage if you took your eyes off her for two seconds she would be up the nearest tree trying to get to the top.....little monkey. Well I suppose it is appropriate after all she is born the year of the monkey.
 

I decided to go with the elegant style of these papers and have used a large damask stencil randomly with some Impasto, paint and embossing powders. When I opened the goodie box with all these chippies from this collection I nearly fell over backwards. The fence that you see here is only part of it. I have actually cut out the gate (will use that on the next project). To dress up this beautiful piece of chipboard I simply embossed it with some Lindy's Stamp gang embossing powders. I wiped some bits of the powder away before heat setting to give a worn look. I also have bent the pickets around so that they don't sit so flat on the layout....we all need a little more dimension sometimes!


This Fabscraps birdcage charm is Oh so beautiful......originally it was silver....I have gessoed and inked and spritzed to take that sheen away and dirty it up a little. I ran a little of white jute through some leftover spritz and dried it off and tied it through the top of the birdcage.......Got to get some more of these little babies!!


You can see here the effect of Crackle Accents. The chipboard was firstly misted and inked. I embossed the swirly pieces of the chipboard with a little white embossing powder but randomly. Covered the full piece with some crackle accents and left it overnight. So when it was dry I swiped it over with a little gesso and wiped off the excess.


If you look closely you can see in the middle of all these flowers is a bulldog clip that I have added to the cluster. The "Treasure Life" phrase is from the Fabscraps Journal book which is full of the most beautiful pieces to co-ordinate with the papers.
You can see the splatters of paints and spray mists in the top right. I have also used ink through a stencil here. And you can also see the gorgeous Fabscraps stickers (the flourish) here. They are just  beautiful.


I went over everything once I decided it was finished with a little gesso to soften the layout.

Well I hope you have enjoyed your visit here today. A full materials list and instruction step by step is listed at the bottom of this just keep scrolling.
Till next time...happy scrapping. 

Tina xxx


Materials Used:

  • Fabscraps Elegant Chic - Flying Bird C71 006
  • Fabscraps Birdcage Charm
  • Fabscraps Chipboard - You're Beautiful DC71 006
  • Fabscraps Chipboard - Picket Fence & Gate C71 011
  • Fabscraps Elegant Chic Journal Book C71 Collection
  • Fabscraps Sticker Sheet - C71 Collection
  • Clear Gesso
  • Impasto Medium
  • Lindy's Stamp Gang Embossing Powders
  • Archival Ink - Potting Soil
  • Distress Ink - Walnut Stain
  • Crackle Accents
  • Various Stencils
  • Various Acrylic Stamps
  • White Jute
  • White Cheesecloth
  • Paints / Mists (browns/ black and white)
  • Flowers
  • Leaves
  • Pussy Willow Branches


Instructions:

  1. Take Fabscraps "Flying Bird"  and cover page with clear Gesso and dry. Distress and ink edges with Walnut Stain distress ink. Spritz with a little water and let ink run a little then heat set. With Archival ink and acrylic stamps of your choice stamp page randomly. Adhere page to a 12 x 12 inch piece of chipboard or something to give it a little sturdiness.
  2. Take stencil of your choice and apply Impasto through this and remove stencil and sprinkle over some white embossing powder. Leave for a while to allow impasto to dry. Heat Set when ready. Spritz page with paints or mists going from the left bottom to top right of layout.
  3. Cut gate from Picket Fence chipboard  and emboss with powders. Before heat setting wipe powder away from some areas to give a worn look. I did the post panels in a contrasting pink embossing powder. Adhere these to the fence posts as shown in layout. Spritz Chipboard word with a brown colour. Emboss flourish areas with white powder randomly and heat set. Cover the whole piece with crackle accents and allow to dry over night if possible. Once dry wipe over with a little Gesso and wipe off excess. Adhere to left bottom of page.
  4. Ink edges of two photos and lay in centre right of layout. Attach and adhere bulldog clip at the top of these photos.
  5.  Adhere fence to either side of photos bending up pickets in the centre of each. Adhering with hot glue is best for this. Charm birdcage can be painted with paint or gesso. Heat set and ink with distress inks randomly. Run jute through any leftover paints or sprays and heat set. Tie a bow through birdcage with jute.
  6. Time to embellish the remainder of your layout. I need to mention that a few of the flowers here have been spritzed with a little brown to give some depth to the layout. Arrange and adhere flowers, leaves and cut up pussy willow branches. Tuck in your Fabscraps charm birdcage and adhere. Cut a title from your journal book and attach to bulldog clip. I was able to roll my title and push it through. Cut some pieces of cheesecloth and tuck in randomly around page.
  7. Your layout is now ready just frame and hang!


Wednesday 15 October 2014

"Little One"

Hello and welcome back. Today I have a Fabscraps Design Team share for you. When I recieved this package from South Africa I was like OMG and it was the hardest of all decisions about which collection I would use first!! Royal Baby or Elegant Chic. Well Royal Baby comes first in the collection so here it is. 

I love doing shabby / vintage styles the best and when I use photos like these ( not the best) I find they suit these kind of layouts. Have had these little pics sitting in the birth box of my youngest for a while now. They were a little mottled as they were the actual ultrasound photos.....so I re-scanned them and tried to fix them a little......this was a good as it got. So without further ado.........
"Little One".


You will have probably noticed by now that I have an obsession with dots. I think they are just so elegant and extremely easy to use. I have hand cut the base paper called "Precious Bunny" (C70 002). It has also been lightly distressed and inked with a little Walnut Stain distress ink. If you look closely in between the two laces sitting back to back I have laid a piece of seam binding in the middle and covered it with the fussy cut piece of flowers from "Swirl" (C70 008). I fussy cut the vine of flowers and the chequered heart from this piece. This has been mounted on foam and laid across the seam binding.


I have used feathers instead of cheesecloth to give a softer feel to the layout. The feathers have been layered underneath the photo too. Note to self......do not, I repeat, do not cut up feathers. You will find them everywhere for many days after....lol.


I have made my own embellishments using stamps and embossing powders on transparency papers. So easy to do and very inexpensive especially if you have a lot of stamps!! The framework around the photo as seen here is one of them and both of the butterflies were made using this technique. I will explain this in the instructions at the bottom of this post.


You can see the framework a little easier here. This beautiful chipboard title "Little One" has been spritzed using Glimmermist - Olive Vine.
A closer look at the transparency butterfly and look at the laces.....Ooooooh la la!!

Well I hope you have liked this and if you are looking for instructions and a materials list .....keep scrolling. And if not thank you so much for visiting me here. 
Hope to see you again soon.

Tina x


Materials List

Fabscraps Royal Baby Collection C70
1 x Swirl C70 008
1 x Precious Bunny C70 002
Fabscraps Chipboard Title "Little One"- DC70 007
Cardstock
Transparency Paper
Paper Flowers
Feathers (pink and white)
Seam binding (pink)
Vine and leaves
Glimmermist Olive Vine
Distress Ink - Walnut Stain
Acrylic Stamps (Butterflies, Flourishes and Frame)
Lindy's Embossing Powders
Wood Birdcage
Cut out Bird
White Twine
Pink Pearl

Instructions
  1. Take cardstock and ink with Walnut Stain and then lightly distress.
  2. Take Fabscraps Precious Bunny and hand cut a design. Alternatively you can use a punch or decorative scissors to do this. Ink and distress lightly as in step one. Adhere to your base cardstock.
  3. Adhere two strips of white lace back to back at top third of layout. I used a clear dry adhesive.
  4. Adhere a strip of pink seam binding to lay across the middle of the lace.
  5. Take Fabscraps Swirl patterned paper and fussy cut the vine and flowers from this. I used a craft knife on a glass mat. I find this helps the craft knife glide across the paper more easily and keeps the knife sharper for longer.
  6. Mount the fussy cut vine and layer it over the pink seam binding.You will find there will be a little left over if you cut it where the photo starts and ends. This piece I will use later. The baby in the cradle will also be used later to embellish.
  7. Create yourself some little transparency embellishments. I have used a frame and some butterflies and also the flourish at the base of the birdcage. To do this take a piece of Overhead Transparency paper and stamp an image using an acrylic stamp and Embossing ink. Cover the image with Embossing powder of your choice. Shake off the excess and replace back into the bottle. Heat set the image with a low setting on your heat gun. If you find the paper curling take the gun away and let the paper cool for a few moments. Once it is set fussy cut around the image and there you have it a easy and cheap embellishment!!
  8. Lay down  some feathers at the base of where you photo will sit and adhere. Use the acrylic frame to place your photos in and adhere to the centre of the lace.
  9. Spritz your chipboard word and leave to dry or heat set.
  10. All you need to do now is embellish the remainder of your layout with the vine and leaves and paper flowers. Dry brush your flowers with a little white gesso and add some small pearls to the body of your butterflies. Tuck in a little white cheesecloth around the framework of your layout.
  11. Your layout is ready to hang and frame!!


Special Guest

Special Guest
2017