Showing posts with label Maja Designs. Show all posts

Friday, 22 November 2019

"Merry Christmas" Maja Design Project - Nov/ Dec Moodboard Inspiration

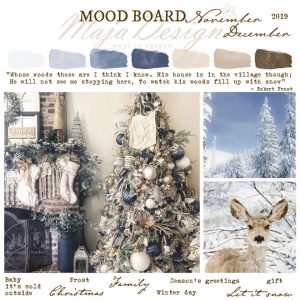
Hello and welcome Maja Design friends. Tina Ollett with you today to share a moodboard inspired creation. As you may already be aware,  Maja Design's moodboard challenge is now up. Here is a glimpse for those who have not as yet seen it. Absolutely stunning!! A big thankyou to Marie Janson for all of her creativity putting these together every month.


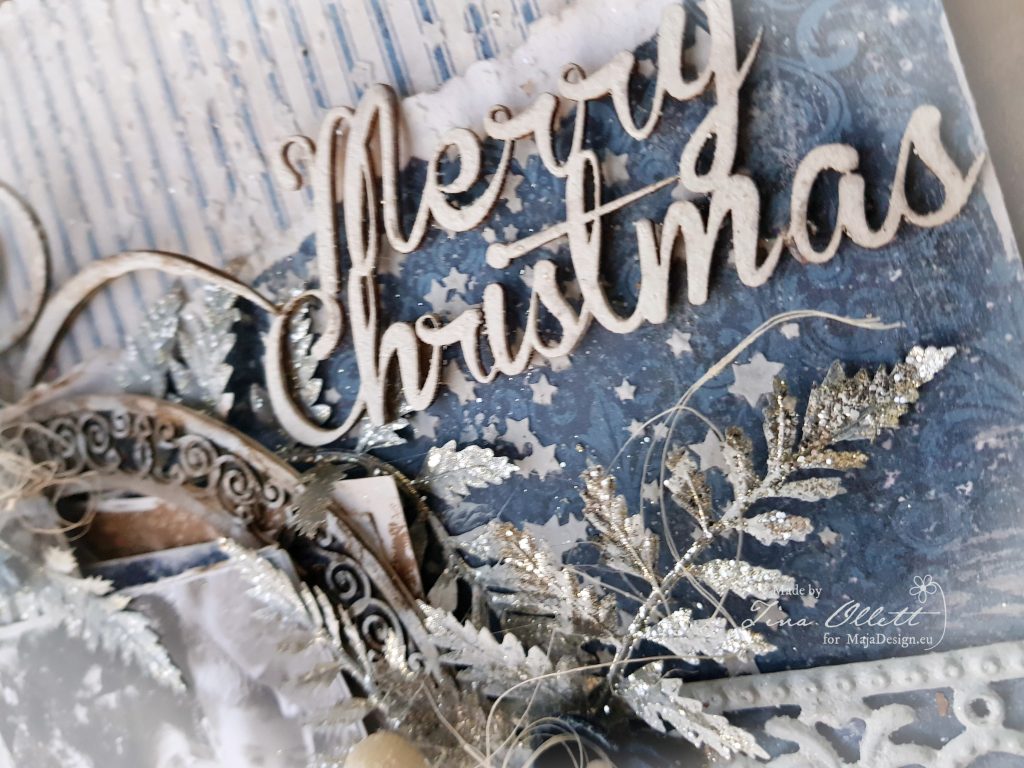
And this is my take on the gorgeous moodboard using the new release collection of Holiday in the Alps.
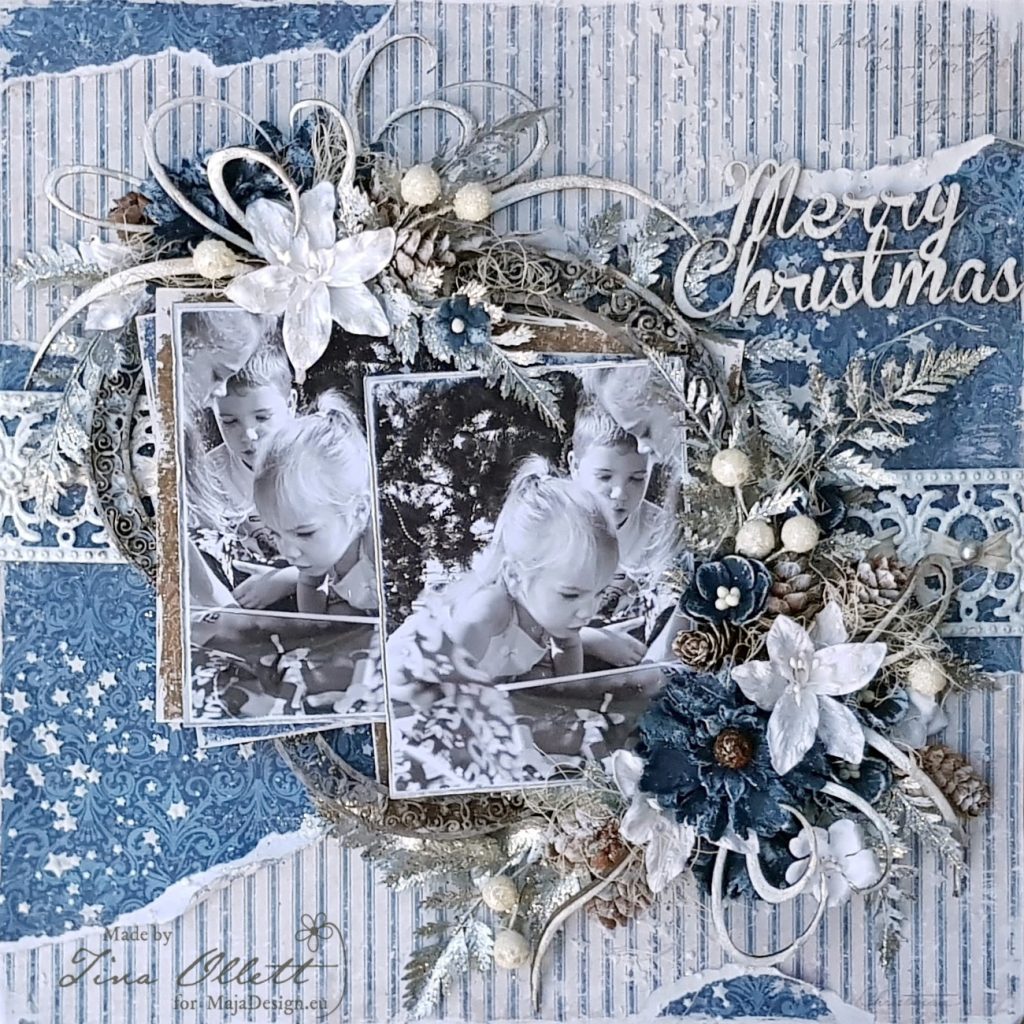


I have titled this layout "Merry Christmas". I hunted for a photo fit for this project for a long time. I had to dig very deep and then come across this. I cannot ever remember seeing this photo amongst my pics but there it was. A photo of all 3 of my beautiful children caught in the moment of opening gifts on Christmas morning. So many beautiful memories are bought about by this photo. Isn't it a beautiful thing that as scrapbookers we can relive the moment when creating.
Anyway more about the project. I have as previously mentioned used the new release designed by the very talented Marie Janson.... "Holiday in the Alps". She has created an absolutely amazing collection. I am not huge on Christmas but this collection just rocked my world. I can see myself doing lots more in the coming weeks. Below are the papers I have used.


Snowflakes

 
Snowmen 

I used the striped paper "Snowmen" as my background pieces and tore the blue sheet Snowflakes to sit through the middle of the project and the remaining pieces were made as photo matting for my two photos. I also decided a little bit later to add in some brown. So I added in the patterned paper "A New Year".


On my background I added in some texture paste through Dusty Attic's Starry Night stencil and then sprinkled over Sparkling Dust from Dress My Craft.
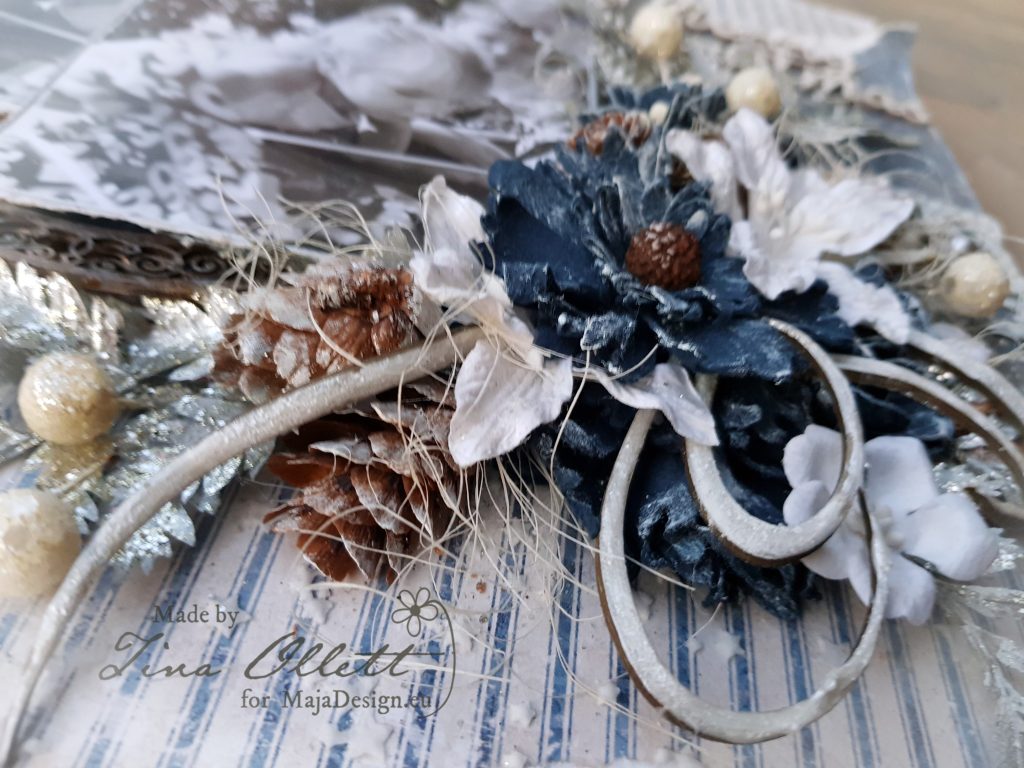

I have framed my photos using some gorgeous ornate frame chipboards from Dusty Attic. These were dressed in acrylic paints and inks. I also added in a couple of the Swirly frames and cut them into several pieces. They were dressed in Liquid Pearls and sprinkled over with Sparkling Dust.
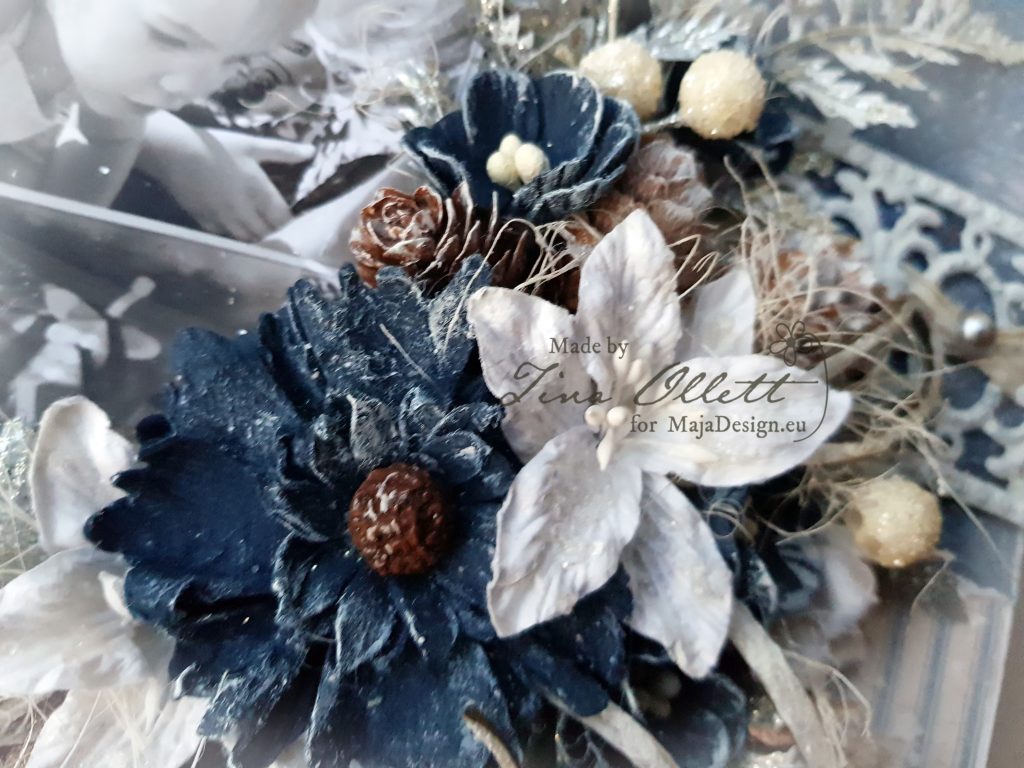

I found some gorgeous silver branches whilst out shopping this week which fit perfectly for this project. I didn't even have to colour them. Just cut and adhered.

I have also added in some gorgeous little pinecones. These were spritzed in an irridescent clear spray and dusted with Sparkling Dust.
So that is it. A little bit of Christmas inspiration using this month gorgeous moodboard. I hope you find time to join us in the challenge. Thankyou so much for popping by here today and taking the time to look. We appreciate it.
Until next time take care and happy scrapping.

 

Tuesday, 12 June 2018

"My Sunshine" Maja Design and Dusty Attic DT creation

 A very big welcome to my blog today.
Tina Ollett here with you today to share a project created recently showcasing three gorgeous patterned papers from differing collections and lots of yummy Dusty Attic chipboards and 49andMarket florals. 

It is titled "My Sunshine" and was inspired by a photo taken down at Redcliffe whilst we were making a visit to see some friends for coffee and milkshakes.


This project was originally going to be very shabby chic until I come across this photo with the rustic rocks that my daughter was sitting upon for the photo. Once I spyed these, the project automatically changed up to a rustic grungy kind of project which I totally miss doing.

Vintage Summer - 1915

Vintage Romance - Deep in love bs

 Monochromes Shades of Denim -  Off White
I started my project off by layering papers from Maja Design and then primed my background to fix it. Dusty Attic Texture paste was used throught the Threaded Bead Stencil to create a little texture going across my page following the stripes from the papers that I used.


My colours from these rocks can be seen within the Leafy Stem #5 that I have dressed with differing layers of mediums. Firstly Rust Paste in the browns and reds, and then some Dusty Attic acrylic's as listed below.


I love how the large seashell as seen above here turned out. It was dressed similarly to the leaves but less emphasis on the browns. They were placed on lastly to highlight the blue and orange tints.


I also coloured some of my pretty florals as you can see above . The Dusty Attic Acrylic Paints are fantastic for this. But ensure never to use too much and do several layers of coverage. A good quality paper flower will always allow for any mediums.


And a yummy view of the Swirly Frame that I used on this project. 

It was cut into a few pieces before it was placed on my project to help frame my photo in a different way. This chipboard piece I have used many times over ( a sure favourite), but I always like to change the chipboard placement to give a different take on the piece.

Below I have made a full list of all the Dusty Attic pieces used for this project. Just click on the link below each chipboard design and it will take you directly to the website for more information.

 Dusty Attic Swirly Frame


                                Texture Paste


And all the gorgeous 49andMarket flowers used :

Botanical Blends - Snow
Seaside Blooms - Sandcastle

Floral Mixology - Ocean Breeze


Thank you for making the visit here today.
Until next time take care and happy crafting. 

Hugs Teen xo


Monday, 8 May 2017

"Adore" Maja Designs DT creation

Hello and welcome Maja followers!

Tina Ollett with you here today to share my next Maja Design Team creation. Last time I was here I shared something a little rustic /country, so this time around I have decided on something Shabby Chic to showcase this gorgeous photo of my two girls. 


And what better collections to use to create this with, but the ever gorgeous
Vintage Spring Basics and the Vintage Summer Basics.


Just perfect to create that pretty shabby page.
This I have titled "Adore".........


 I used the Vintage Spring Basics 7th of May as my background page but I firstly cut a photo mat from the centre to save on paper. I then layered torn Vintage Summer Basics 1922 and the Vintage Springs Basics 4th of May over this. When creating shabby layouts I like to leave large areas of the white paper core to give it an complete border and it also saves on sanding or inking.


Here you can see the layered torn papers and above that the photo mats with distressed and sanded edges.


I have layered over the top of the background page two sections of lace. I have run a piece of seam binding through the top piece of the lace and I tied it in a bow at the right side of the photo where it hangs to hold the chipboard title "Adore". This chipboard piece was simply dressed in gesso and Liquid Pearls was swiped across and around the edges to highlight the titled.


I love to create flower clusters, and this one was no exception. I used leftovers from many of my flower baskets that sit under my desk. They were all whitewashed with gesso to keep in with the shabby chic design. To complete the layout I added in some Kaisercraft paper leaves, a Dusty Attic frame which was dressed in Platinum Liquid Pearls and cut into several pieces and also a little cheesecloth.

Well that is all from me today. I hope you have enjoyed popping by. Until next time, take care and happy crafting.

Tina Xxx


Materials Used

Maja Design Vintage Summer Basics - 1922
Maja Design Vintage Spring Basics - 7th of May
Maja Design Vintage Spring Basics - 4th of May
Dusty Attic Swirly Frame
Dusty Attic Button
Liquitex Gesso
Miscellaneous Assortment of Flowers
Kaisercraft Paper Leaves
Cheesecloth
Liquid Pearls Platinum


Tuesday, 11 April 2017

"Heartfelt Love" - Maja Designs DT Creation

Hello my dear friends and welcome. I hope that this blog post finds you happy and well. Today I am here to share a very simple but elegant card using the ever so stylish Sofierio Collection. I am also giving away one of these paper packs to one lucky person. But firstly I would love to share my little project with you.


I kept this card very simple and as much as it didn't feel right .......it also did!!
Crazy I know but I had piles of flowers sitting around on my table and adding flowers just seemed to distract from the simple elegance of it all. I have listed below the gorgeous papers used for this project. They are:


Enjoying the fragrance bs


Royal Summer Residence


Strolling down the rose path


I have used the 6 x 6 paperpack perfect for cardmaking. Enjoying the fragrance was used in the background and I layered another strip of it along with Strolling down the path, and a little lace.


I used some Dusty Attic chipboards and a metal swallow embellishment to help to decorate my card. The elegant scroll was dressed with liquid pearls and the cameo ribbon was coated with a couple of coats of gesso and then a oval shape to sit in the centre of the cameo ribbon was cut and layered on top of it. I then dressed this with a little Star Dust Stickles to highlight this a little further.


I tucked in a little muslin and then topped this with some silver micro beads. The metal swallow  I think, completed this project. It was primed with gesso and whilst still wet I sprinkled over a little colour of Pale Pink Mica Powder. And finally to finish I topped the embellishment cluster with the word strip "Heartfelt Love".

I so hope that I have inspired you in some way today to create something for yourself this week whether it be big or small. And no matter it's size, do it for you, because you deserve it.

And before I go, one last thing........


This is what one lucky person will receive in the mail. All you need to do to win this fabulous collection is:
  1. Share my Maja Design Giveaway facebook post.
  2. Like Maja Design on Facebook or Instagram and subscribe to their blog.
  3. Leave a comment below so I know you have done all of the above.

Anyone internationally can enter this giveaway. You have until April 30th 12am. I will pick a winner by Random. Org. The winner will be announced on my facebook page April 30th.

Goodluck !
Thank you for visiting and have a fabulous day. 

Tina x


Wednesday, 7 December 2016

"Happiness" Maja DT / Dusty Attic Project December

Hello once again and welcome. Today I am here to share a project created for both 
Maja Designs and Dusty Attic, I have combined my Design Team work into one making life a little easier for myself this month!
We recently celebrated our youngests 12th birthday, and thinking of what to buy her was a total nightmare. It kept me awake for many nights. But one night I had an epiphany! Chickens!! My husband thought that I had lost my marbles finally, but as it turns out, they were the best birthday present she has ever received. This particular photo was one of many taken only days after she received them. I think this photo captures her true happiness. She is so very devoted to these little guys who, may I add, have grown very quickly over the past 4 weeks. They love to sit on her shoulder and feed from her hands. She even does her violin practice outside with them whilst they are running free under her strict supervision. So with this I created a soft pretty page to help her remember her happiness at receiving these little guys. Oh and by the way the little one in the photo with her has been named "Duck"...so very funny....but as funny as it sounds it really does suit her!! 
This has been titled......"Happiness".


Ok so now onto the layout. Like I said I wanted to create something something soft and pretty, so to do this I have used Maja Design's Vintage Spring Basics collection. I have teamed the 7th of April with the 2nd of April bs. When I started out I really didn't have much of an idea of where I was going with it but as the days rolled on I started to lean towards more of a mixed media layout.


My first piece of Dusty Attic that I used was this gorgeous Floral Frame #2. I have dressed it heavily in Vintage Silver Embossing Enamel. I love the effect it left on the chippie after a few layers.


I also used the same embossing powder to create some texture on the Maja Design 7th of April patterned paper. You can also see here the bottom part of the frame. The other Dusty Attic piece I used was from the ATC Frame Set #2. This was dressed in Liquid Pearls (Buttercup). Over the top of it I added some of the embossing enamel to bring the layout together. 


You can see the frame better in the photo below. 


I have also used a little Viva Inka Gold to colour my background and help these photos pop. And some splashes of gesso and more inka gold.


I have used some gorgeous Prima Marketing Blooms to embellish the page along with Green Tara blossoms and a most gorgeous Lace Motif piece from my go to shop A Place to Create.One of the Prima Blooms I changed up, to co-ordinate with my background colourings. The Green Tara blossoms were also coloured with the liquid pearls and Distress Ink Walnut Stain.


And a new favourite Dusty piece is this Page Pebble from the #9 pack. This is just adorable. It too was dressed with Liquid Pearls and Embossing Enamel.


Well that is all from me today. I really do hope you enjoyed your visit here today. Until next time happy scrapping.

Tina xo


Other Products Used

Versamark Embossing Ink
Stampendous Aged Silver Embossing Powder
Tim Holtz Distress Crackle
Viva Inka Gold Turkis Turquoise
Liquid Pearls (Buttercup)
Kaisercraft Clear Stamp – Postmarks
Large Lace Motifs
Green Tara Flower Stems


Special Guest

Special Guest
2017