Welcome back. Today I have another share for my Fabulicious Design Team.
I have used yet again the Industrial Chic Collection. I have come to be infatuated with these papers. So very versatile. You can use these for vintage, and masculine but also for the shabby chic style as I have done here.
I hope you enjoy your visit here. If you keep scrolling to the bottom of the page I have included lots of close-ups photos along with the materials used and instructions.
"Darling"
Chipboard embossed with Lindy's Stamp Gang's Embossing Powders.
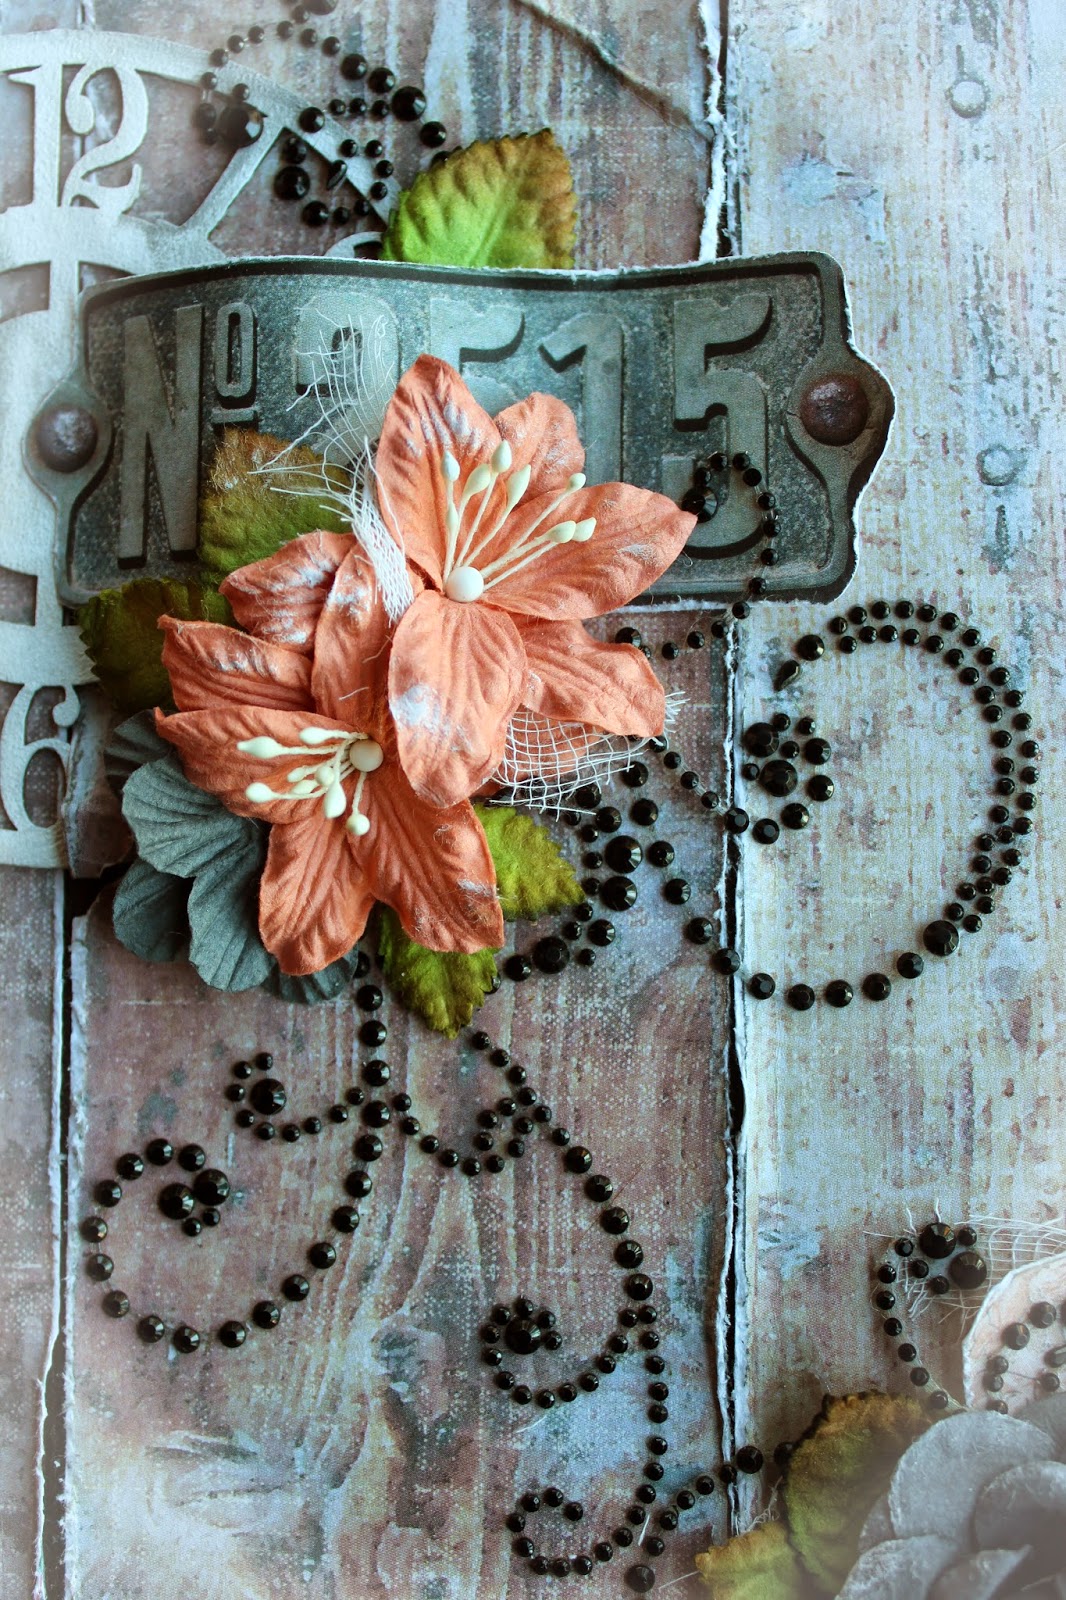
Flowers have been dry brushed with a little gesso.
Love these number plates from the die cut papers packs.
Added in a die cut picket fence in amongst and behind the flowers with a touch of distressed cheesecloth to soften the layout.
You can see here at the base of the photo the handmade transparency embellishment made from a border stamp and some embossing powders.
Wood panelling made to look real. Cut it up into panels and heavily distressed it to show the black cardstock backing behind.
The chipboard clock painted with gesso and randomly inked with a little Watering Can archival ink.
Hope you have enjoyed these close-ups.
See you again very soon.
Tina xx
Materials you will need:
Fabscraps Wood Chic C67 001
Fabscraps Paintl Chic 2 C67 006
Fabscraps Paint Chic C67 005
Fabscraps Industrial Chic Die Cut pages
Fabscraps Clock With Hands DC66 013
Fabscraps Chipboard Word "Darling"
Lindy's Stamp Gang Embossing Powders (Queen Sheba's Silver, and Midnight Pewter Obsidian)
Archival Ink - Watering Can
Versa Mark Embossing Ink
Cheesecloth (White)
Black Core Cardstock
Transparency Paper
Rhinestone Flourishes (Black)
Flowers in Peach, grey and black colours
Leaves
Fence Die
Gesso
Border Stamp
Butterfly Stamp
Instructions:
1. Take Fabscraps Wood Chic and tear a section out of the bottom. Then cut the panels of the wood and distress heavily. Adhere back together on a piece of heavily distressed black core cardstock.
2. Take Fabscraps Paintl Chic 2 and cut a panel of the boxes and distress heavily.
3. Take Fabscraps Paint Chic (floral side) and cut a 14.5cm wide x 23cm mat and tear at the base. Distress and back with a piece of distressed black core cardstock . Adhere to right side of page as shown. Adhere Paintl Chic 2 strip at base as shown in layout.
4. Take remaining Paint Chic (stripe side) and cut another mat measuring 12cm wide x 18cm and tear at base. Distress and back with a piece of distressed black core cardstock. Adhere atop of the first matting. Cut a mat from black core cardstock and back your sanded photo and adhere atop of the matted pieces.
5. Cut chipboard clock in two pieces. Gesso with two coats and allow to dry. Once dry ink randomly with Watering Can archival ink. Adhere to layout. Cut tag and number plate from Industrial Chic pages and distress. Curl the number plate and adhere to the left atop of the clock as shown. Tuck tag at right of photo.
6. Transparency Embellishments: This is one of my most favourite things to create!! My own embellishments using embossing powders, stamps and transparency paper. Please ensure you have Overhead Tranparency paper not Binding Cover paper because your heating tool will melt it!!
Firstly stamp you Transparency paper with Border stamp using an embossing ink. Sprinkle over Midnight Pewter Obsidian embossing powder. Shake off excess and heat set. Be careful not to over heat! Cut out image and adhere to layout using clear drying glue. For this layout I have made sever of the border stamps ( 6 in fact). I have arranged them around the boxes at the base of the photo and at the top of the photo. I have also made a butterfly embellishment which sits at the right of the photo coming out of the flowers and leaves.
7. Cut 2 x Fences using a diecut and gesso . Ink randomly with a little Watering Can archival ink and bend up. These sit in and aroud the flowers and leaves as shown in the layout. Adhere down all flowers and leaves. Tuck in a little distressed muslin around the embellishments and coming out from base of panelling.
8. Emboss Chipboard word "Darling" using Lindy's Stamp Gang - Queen Sheba's Silver. I went over it a couple of times to give a thickness to the title. Mount and adhere atop of the flowers and fencing at the base of the photo.. Finally add your rhinestone flourishes. I also added a few rhonestones to the clock at the right of the photo.
9. Your layout is now complete. Just frame and hang.


You are an amazingly talented lady Tina!!!!! I just love your work
ReplyDeleteThank you for stopping by Helene. Thank you so much!! xx
DeleteReally beautiful!
ReplyDeleteThanks soooo very much Lizzy. xx
ReplyDelete