Welcome back and hello. It is great to see you here again. Today I have a design team layout created with Fabscraps newly released "Industrial Chic" collection. I am excited to say that this is one of 4 creations of mine currently on show at the Summer CHA in Atlanta.
Love, love, love this range of papers and if you know me, you will know how much I love chipboards!And the chipboards from this range are heaven!
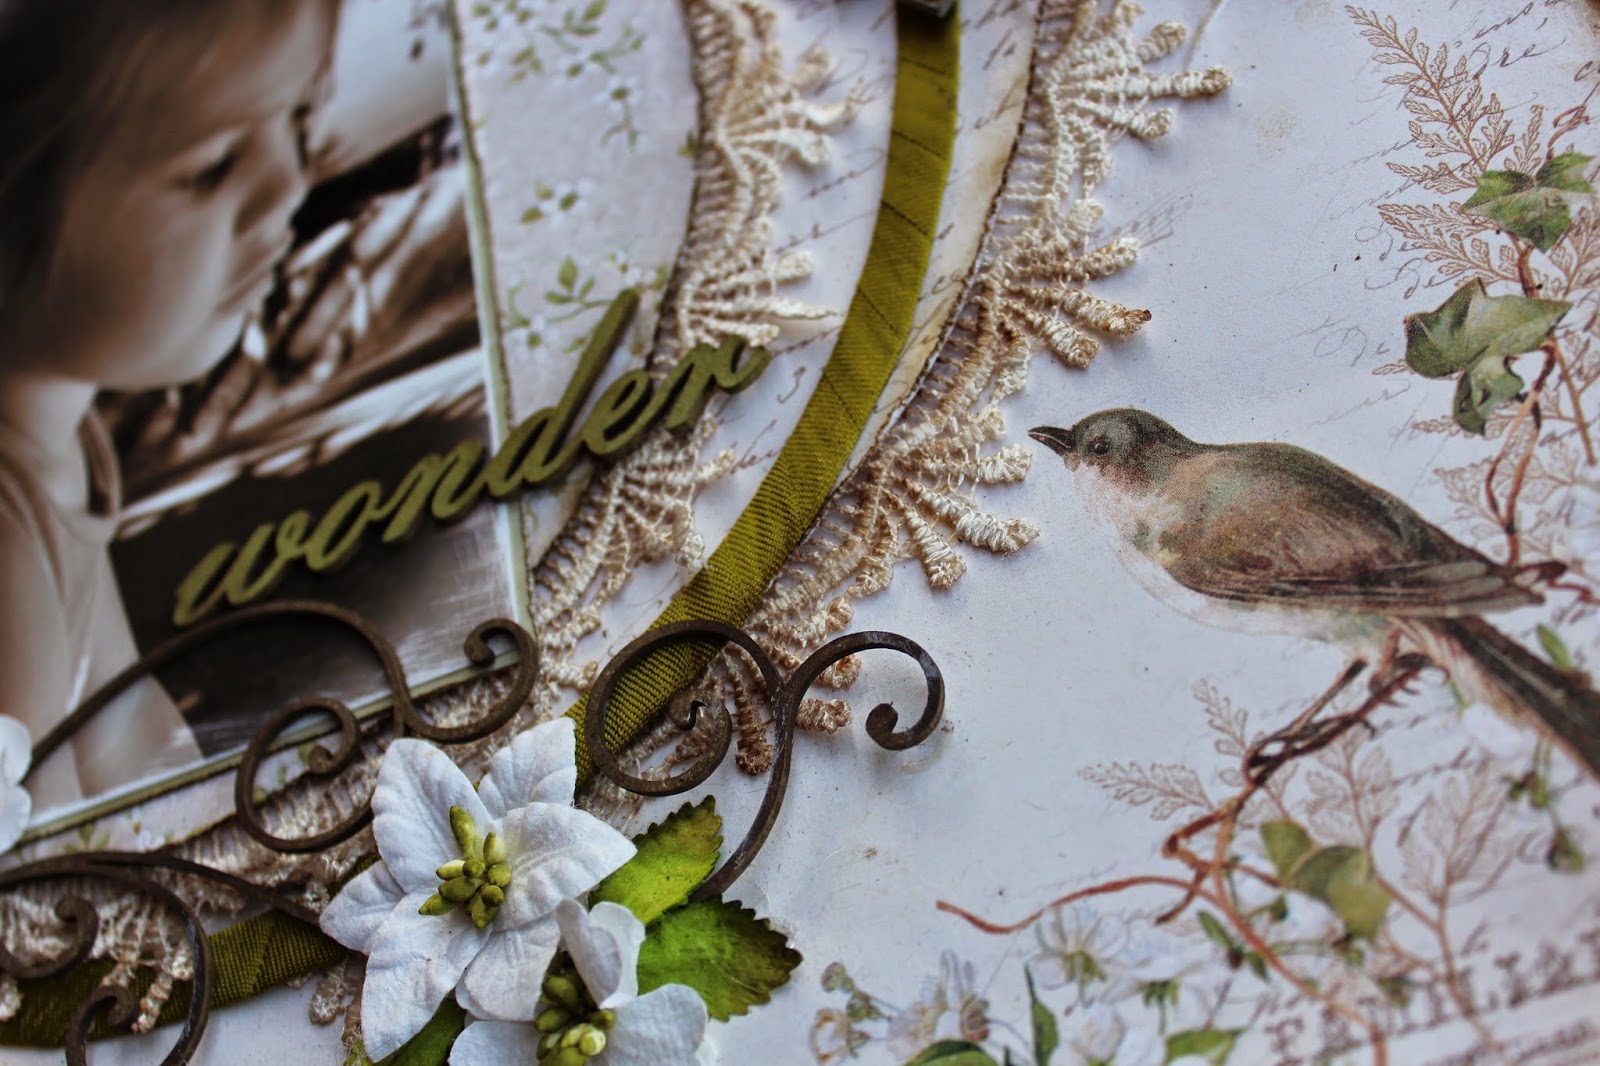
This photo of my daughter Ashlea, was taken by herself.....something that she likes to do and often. It was was taken in the car on the way to her 13th Birthday dinner celebration. The photo says it all I think. So extremely happy to become a teenager!
Keep scrolling down and I will show you some close-ups and give you a materials list along with complete instructions. Enjoy!

Love, love, love this range of papers and if you know me, you will know how much I love chipboards!And the chipboards from this range are heaven!
This photo of my daughter Ashlea, was taken by herself.....something that she likes to do and often. It was was taken in the car on the way to her 13th Birthday dinner celebration. The photo says it all I think. So extremely happy to become a teenager!
Keep scrolling down and I will show you some close-ups and give you a materials list along with complete instructions. Enjoy!
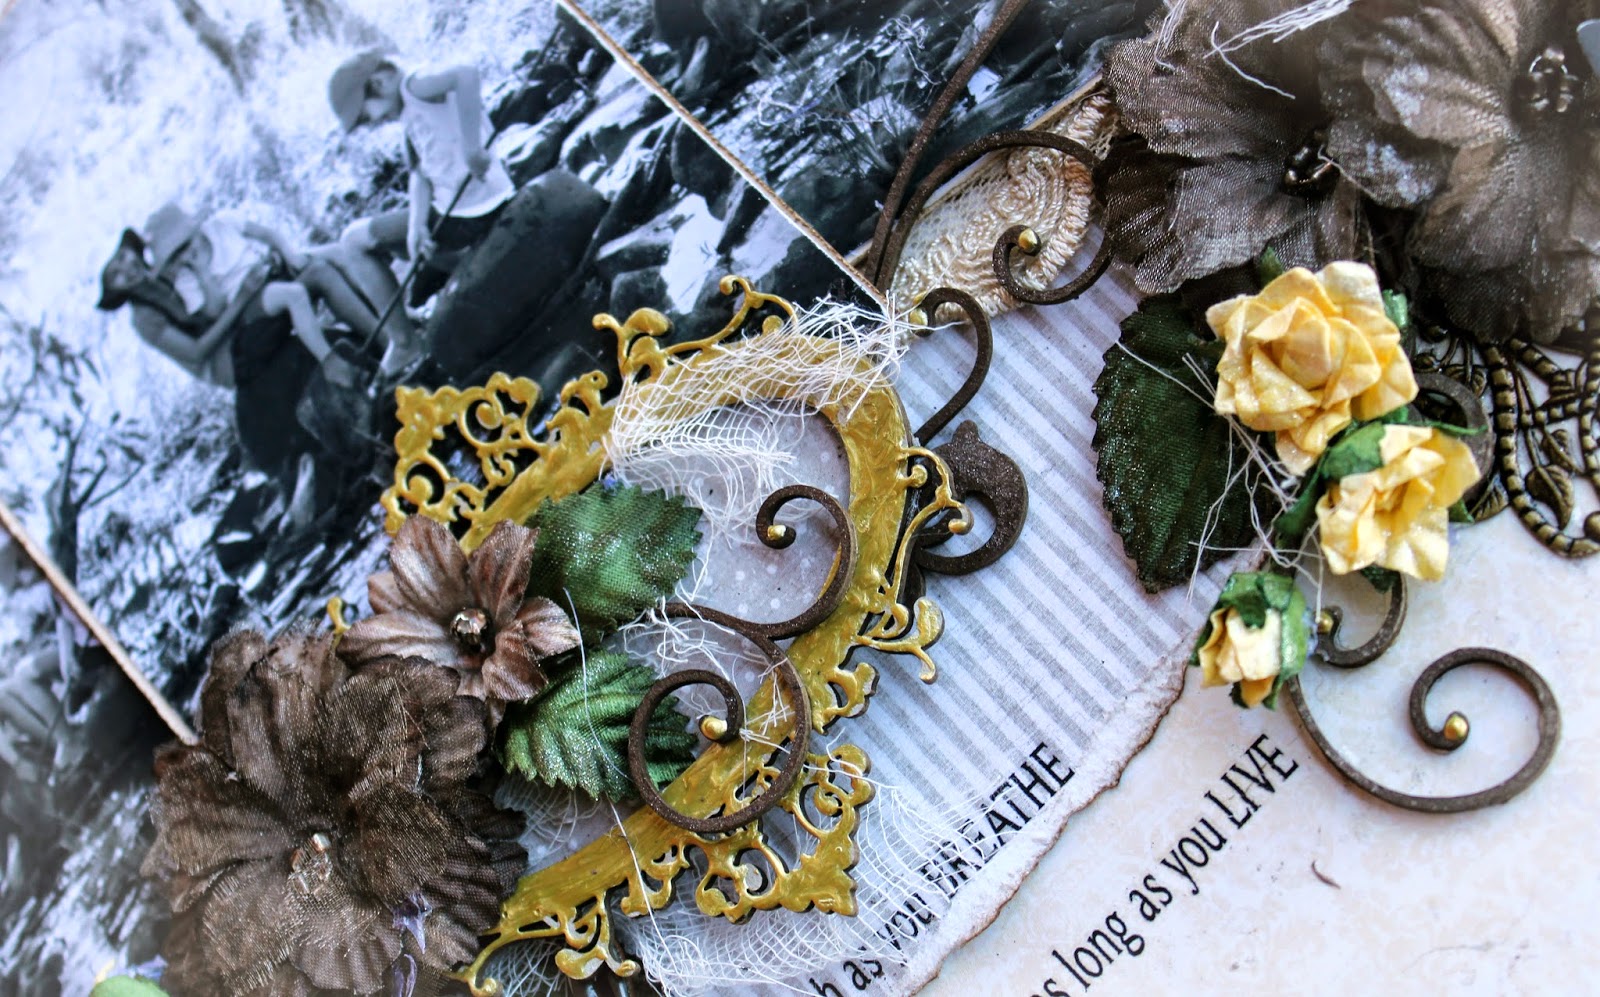
So I have used some media here. Firstly applied clear gesso to the punched background paper.
Mixed up some Inka Gold (Iceblue) into a spritzer bottle with water. Sprayed some Glimmermists and added a little texture with Inka Gold (Hydrangea) through a stencil and also Acrylic white paint and texture paste through another stencil. Background looked a little like this.........................

Mixed up some Inka Gold (Iceblue) into a spritzer bottle with water. Sprayed some Glimmermists and added a little texture with Inka Gold (Hydrangea) through a stencil and also Acrylic white paint and texture paste through another stencil. Background looked a little like this.........................
Also did some random stamping.
.JPG)
I embossed the chippie title 5 times using a mixture of Black and silver powders until I got a thickness that I was happy with.
.JPG)
I did the same for the telephone chippie.
.JPG)
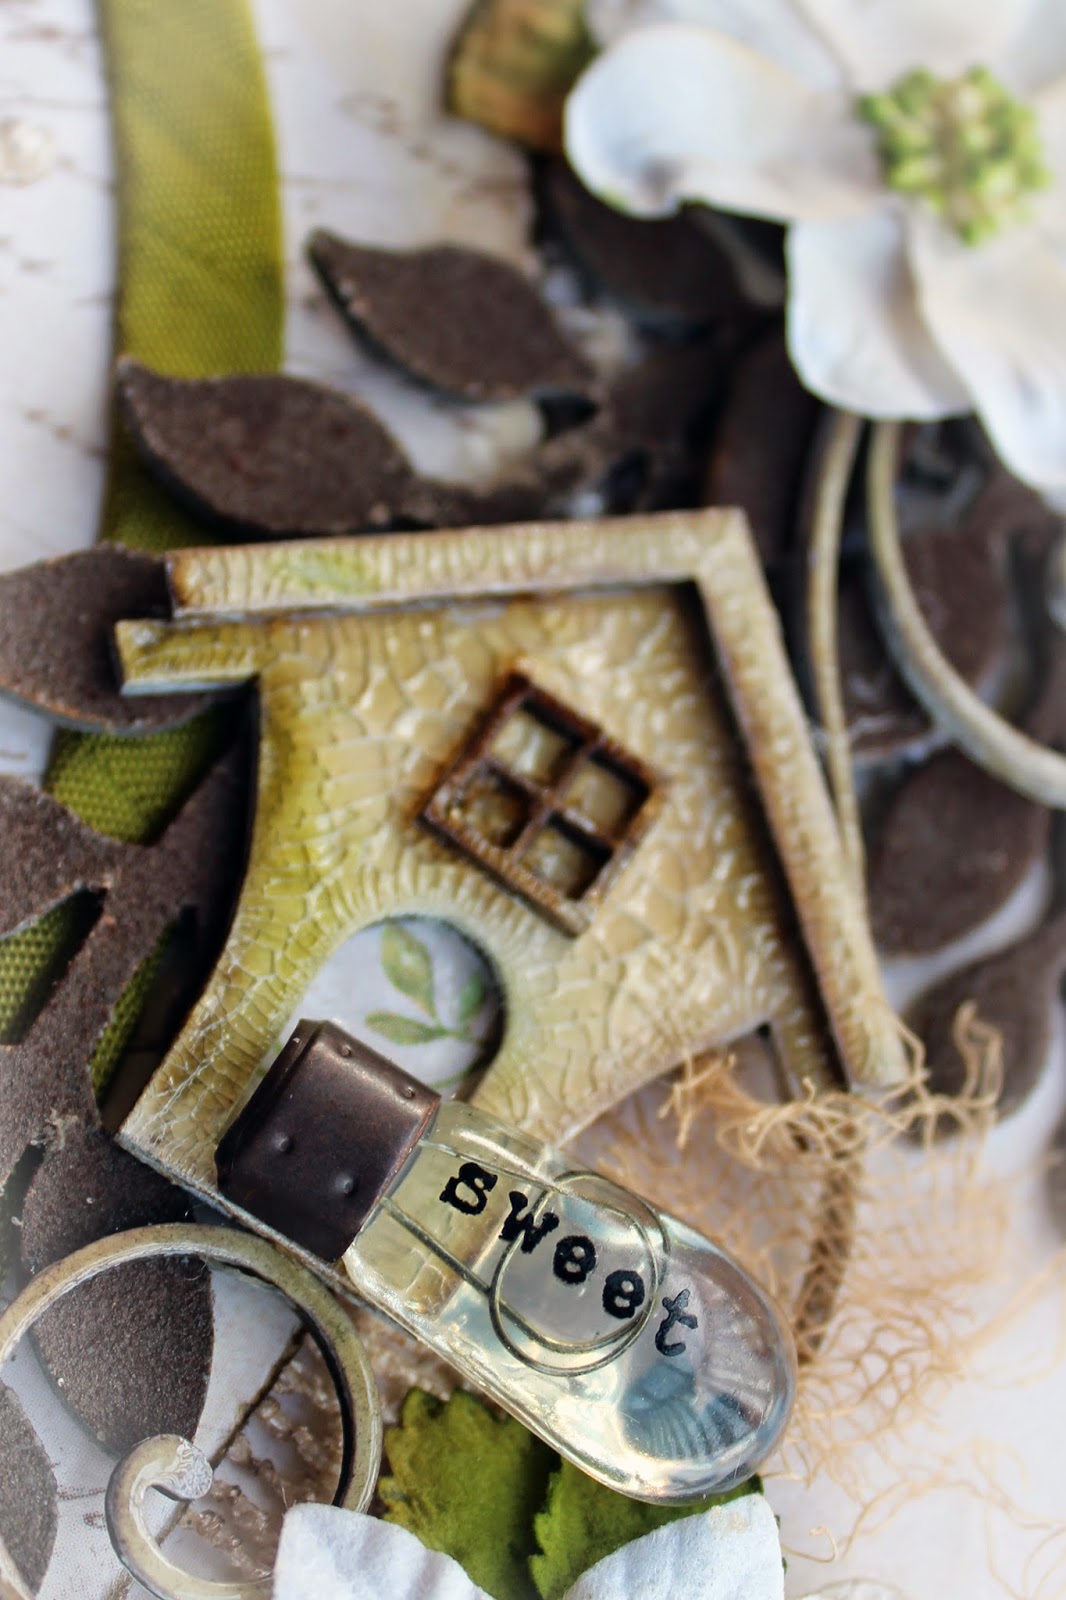
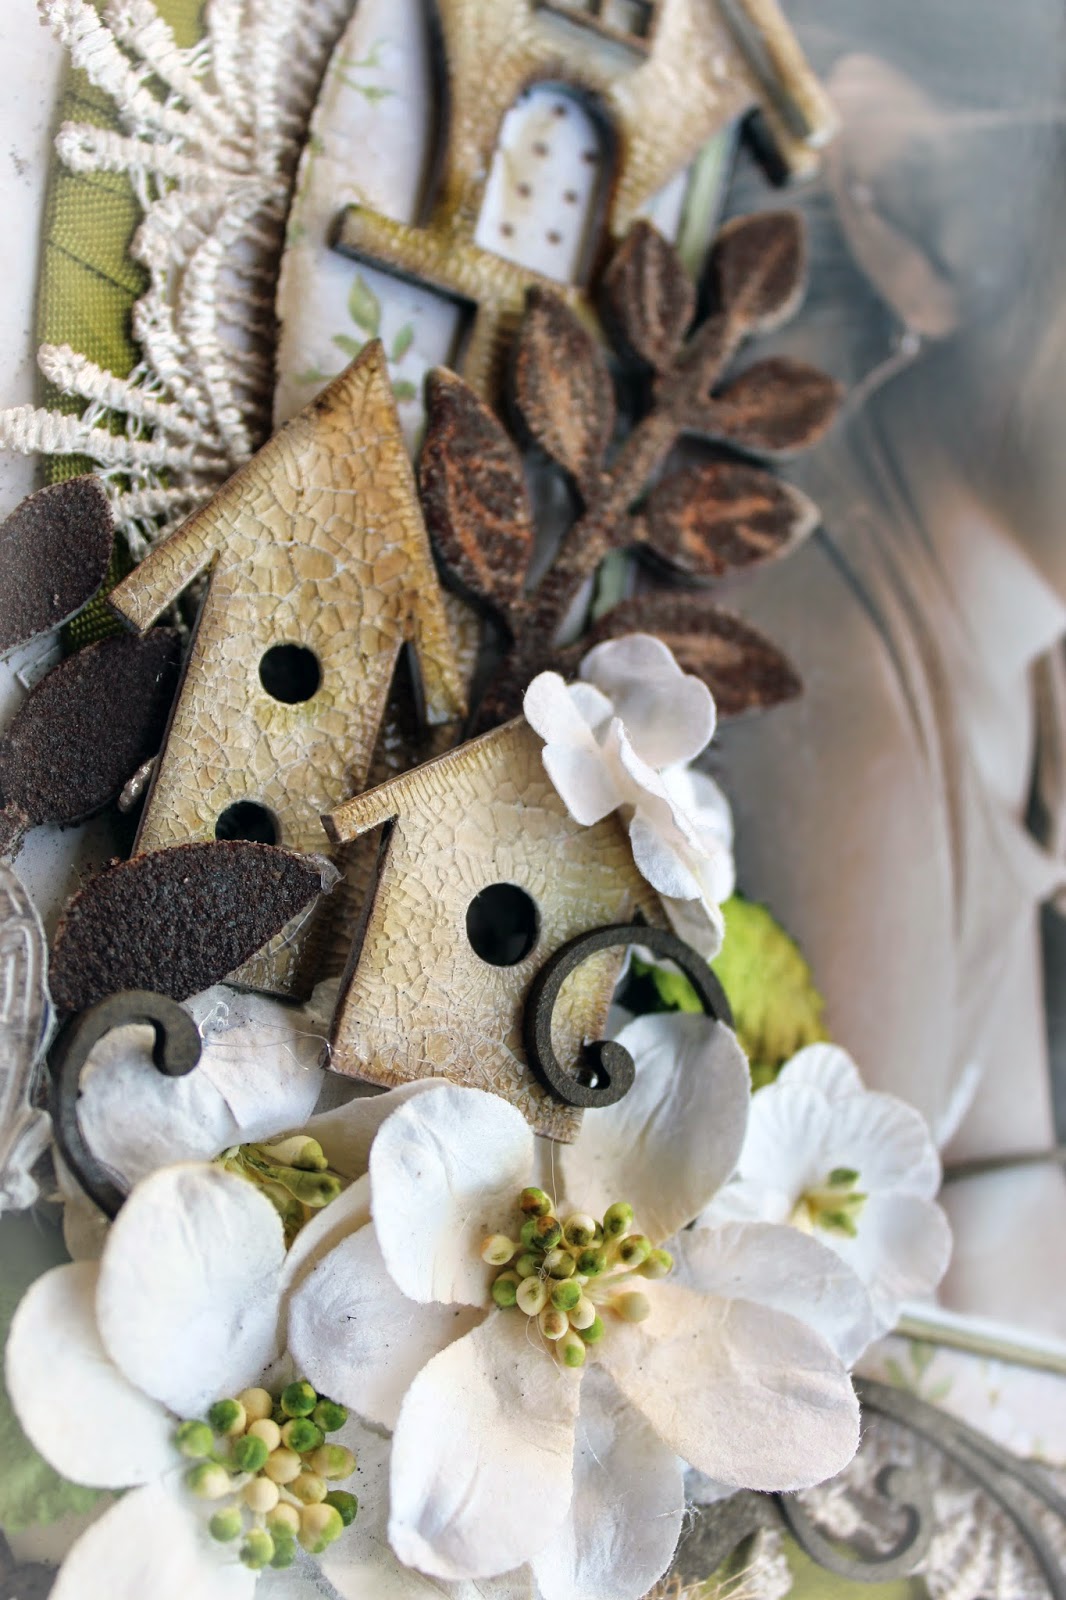
I have also diecut a chipboard branch and Crackled it and then inked it and spritzed with some more glimmermists.
.JPG)
Spritzed some Green Tara Azalea's and dry brushed randomly with some white gesso.
.JPG)
I hope you have enjoyed your visit here. Remember keep scrolling if you want to see the Materials List and Instructions.
Until next time, take care.
Tina x

Materials List
Fabscraps Concrete Chic 2 C67 004
Fabscraps Style Explosion Chipboard Word DC67 003
Fabscraps Chipboard Telephone DC66 012
Fabscraps Tag cut from Industrial Chic Journal Pack
Chipboard Frames from Word and Telephone pack
Lindy's Stamp Gang Embossing Powders
Steel Grey Bazzill
Glimmermist
Viva Inka Gold - Hydrangea and Iceblue
Flowers- Green Tara, Petaloo and Prima
Crackle Paint - Picket Fence
Gesso ( White and Clear)
Texture Paste
Assortment of Stencils
Assortment of Acrylic Stamps
Black and Grey inks
Martha Stewart Border Punch - Garden Rail
Sizzix Diecut Garden Green - 659436
Instructions:
1. Trim 2cm off one side of Concrete Chic. Punch left and right side. Adhere to cardstock base. Cover generously with clear gesso and allow to dry.
2 .Make a mix of Viva Inka Gold (Iceblue) in a spritzer with water and spritz page randomly. Let some run down your page and make some droplets too. Do some spritzing with glimmermists as well with 2 other co-ordinating colours. ( I have used Turquoise Blue and Cosmos).
3. Through a stencil push through some more Inka Gold - I used Hydrangea. I also used white Texture Paste with a differing stencil.(Tim Holtz - Speckles). Lastly on your background do some random stamping using black and grey inks.
4. Rub a little Hydrangea Viva Inka Gold around photo borders and cardstock base. Rub Iceblue Viva Inka Gold over outer chipboard frames, which have been cut up as shown in layout. Leave to dry and adhere with clear drying glue to layout base.
5. Spritz flowers with co-ordinating colours used in background. Leave to dry.
6. Cut Garden Greens die using scraps of chipboard or old cardstock. Gesso and ink and then apply a generous layer of Crackle Paint. Allow to dry. Spritz with co-ordinating glimmermist spray. Wipe off excess with baby wipe. Cut into sections and hot glue to page. Mount photos and adhere and also adhere flowers.
7. Emboss chipboard word several times with Black embossing powder. On the last two layers add in a sprinkling of silver powder. This will give you a very thick coverage! Do the same with Telephone chipboard but not so many layers. Adhere both of these. The chipboard title has been mounted!
8. Cut Journal Tag from Fabscraps Journal Pack and tuck under telephone cord. Add a couple of black brads either side. Jot down some journalling.
9. You are now finished. Just frame and hang!
.JPG)


.JPG)
.JPG)