Tuesday 29 December 2015

"Like a Boss" Fabscraps Teens Collection Design Team Creation

Hello and welcome once more.
As I had promised last week I would share another of my Fabsraps projects making their way to Anaheim for CHA. And wouldn't you know it, I can create with a flower in sight.......although I must be very honest, that I found it difficult, but I love the end result and I think it is a true reflection of this most awesome collection from Fabscraps.

And to add to my delight of finishing a project with no flowers is the fact that I can make a memory for my son who doesn't show up near as much as my girls! Love you to the moon and back buddy. xo

"Like a Boss"


Today I have completed a full materials list for you along with a short step by step. And of course a lot of close up photos.

Materials Used

Fabscraps #Teens Collection Staycation C80 007
Fabscraps #Teens Collection Hash Tag C80 007
Fabscraps Chipboard DC80 003 “Like a Boss” Title
Fabscraps Chipboard DC80 013 Cogs
Fabscraps Chipboard DC80 014 Circles and Stars
Liquitex Gesso
Distress Ink Black Soot
Ranger Acrylic Dauber Paint
Tim Holtz Metal Embellishments Numbers and Quote Tag
Cotton (Grey)
Clear Drying Glue
Prima Marketing Inc. Black Crushed Glass
Twine (Grey)
Folk Art Metallic Silver Acrylic Paint
Crackle Accents

Step by Step Guide

  1. Apply two coats of white gesso to each piece of chipboard and metal embellishments. Leave to dry and then apply black ink and blue paint to each piece. Lighten up with a little dry brushing of gesso if inking becomes too dark. Apply Crackle Accents to metal embellishments and Chipboard Title “Like a Boss” and leave to dry.
  2. Ink heavily the edges of Fabscraps Hash Tag using black ink. Using the lid from a bottle of some description, dip into some gesso and make a few circles around the page and leave to dry.
  3. Take Fabscraps patterned paper Staycation and cut mats for two photos. Distress matting of each and then with remaining Staycation cut the bricks from the paper. You will need to do the remaining piece. Layer sections and use mounting tape to give dimension if you wish on to background piece Hash Tag. See layout for positioning.
  4. Adhere mounted photos to the middle of layout as shown. Tuck in and layer all chipboard pieces, metal embellishments.
  5. Embellish a little more with pulled cotton. Colour with a little paint (Blue and Gesso) if so desired.
  6. And lastly apply some clear drying glue in and around cogs. Sprinkle over some black crushed glass or beads. Colour with paint (blue and gesso) if so desired or you could leave it to really pop from your layout.
  7. Your layout is now finished ….. just frame and hang!


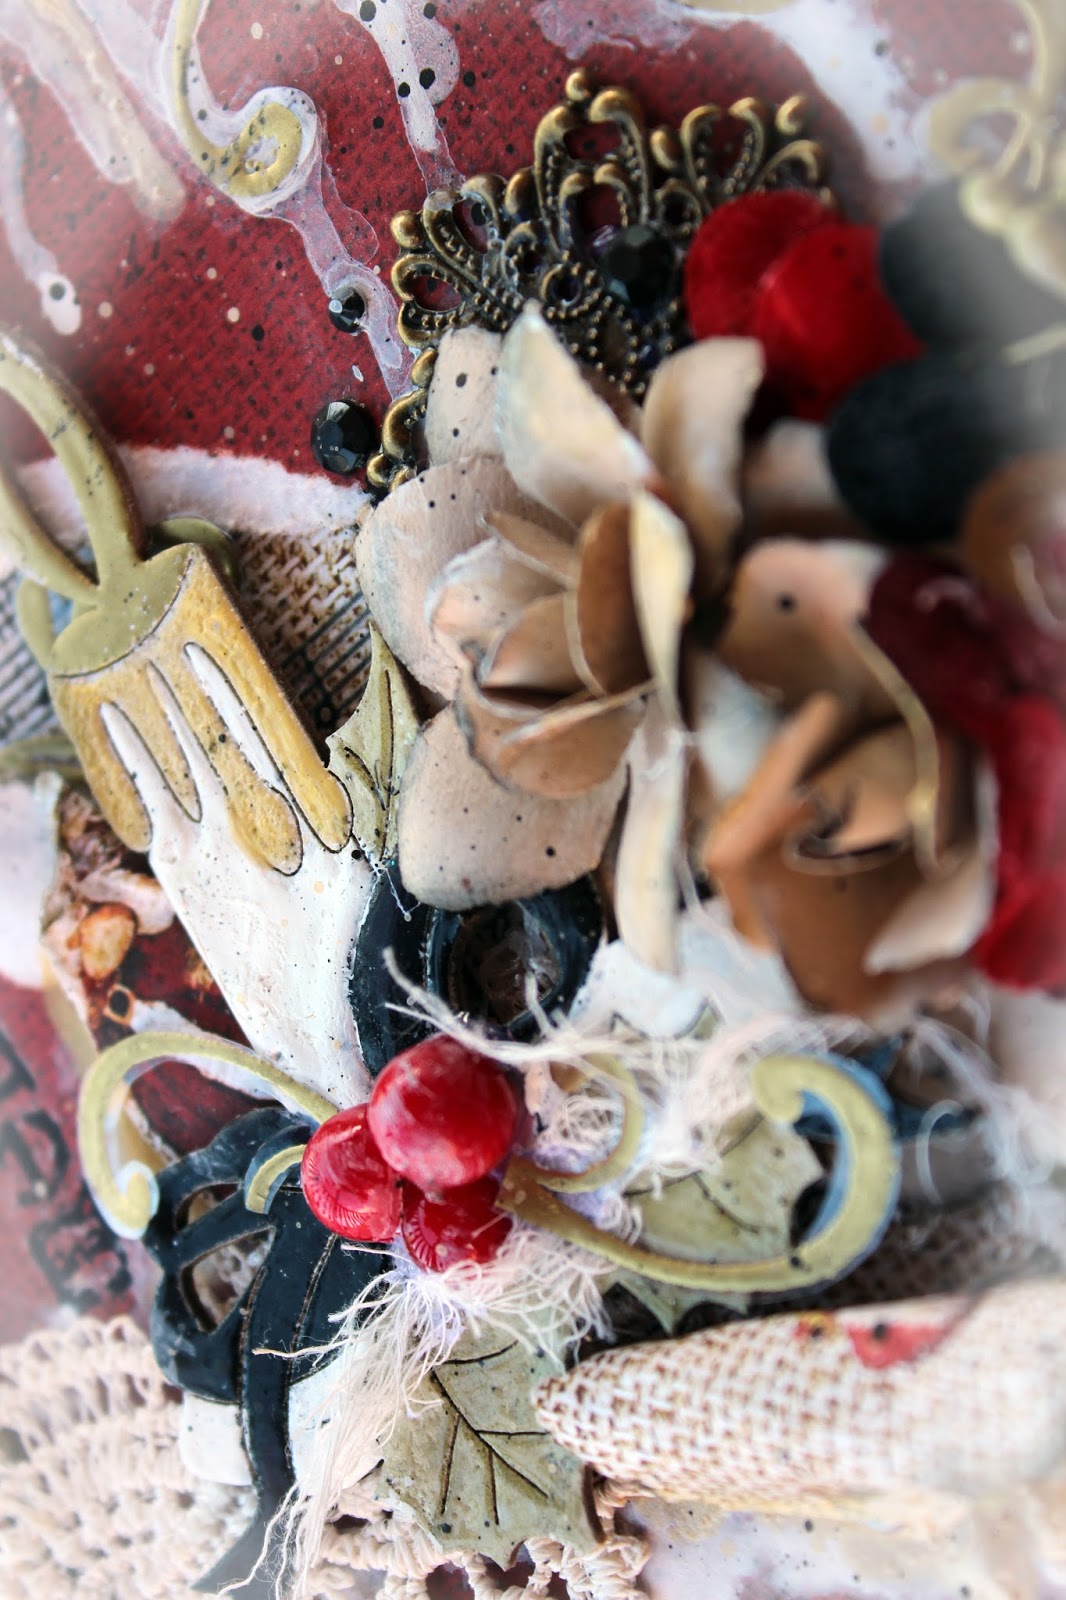
And some many close-ups!!


Well that is all from me today. I so hope that you have enjoyed your visit here and this project.
I would like to take this opportunity to wish you and your loved ones a very happy and safe 2016.

Until then 
Take care and happy scrapping.

Tina xo


Tuesday 22 December 2015

"Hanging Out" - Fabscraps #Teen Collection

Hello and welcome back! 
I hope the Christmas shopping and organising is not getting you too flustered coming up to the big day. I have decided to spend my week catching up on things around the house and also to finish off my CHA submissions for Fabscraps. Hi Ho Hi Ho it's off to Anaheim they go. This is one that I am packing up today. 

I have titled it "Hanging Out".


I decided to go with a fairly clean page with just a lot of pretties to embellish it. Whilst this collection I think, is mainly aimed at the teenage boys in our lives I have created this for my girls and changed it up just a little. I have used the Fabscraps chipboard Barbed Wire which I hope doesn't spoil the prettiness of it all.


I have layered the Fabscraps Type T and Togethering and with Staycation I simply cut a few bricks from the paper and placed them around the photo, as you can see here in the word "Out".


My Fabscraps Chipboard titled "Hanging Out" was cut apart and dressed with Liquid Pearls.


And the Fabscraps Barb Wire Chipboard was inked a few times and once dried I ran a little Liquid Pearls (Silver) over the edges. 


I have made my own transparencies as you can see here. This is a new stamp that I picked up while away on holidays last week. Couldn't wait to use it!


And a few more close -ups for you....


Here I have tucked in a Kraft Tag that I have dressed with Gesso a few times, inked in Black soot and mounted and popped a metal embellisment on top. I have threaded through a piece of cheesecloth to finish it off.


All the white flower stamens have been inked with a little watered down ink and heat set.

Well that is about all from me today.
I would like to take this opportunity to thank you for supporting me here over the past year. Your visits mean a great deal to me. Wishing you and your families a very blessed and safe Christmas and I will see you back here again in 2016.

Take care ......

Tina xx

Materials Used 

Fabscraps #Teens Collection Type T C80 005
Fabscraps #Teen Collection Togethering C80 006
Fabscraps #Teen Collection C80 Staycation C80 007
Fabscraps #Teen Collection C80 Barbed Wire Chipboard
Assortment of Flowers 
Kraft Tag
Doily
Metal Embellishment - Roman Numeral
Distress Inks Rusty Hinge, Walnut Stain, Vintage Photo and Black Soot
Liquid Pearls - Silver
Gesso
Bronze Crush Glass Glitter
Darkroom Door Stamp Pine Leaf
Cheesecloth


Saturday 19 December 2015

"Merry & Bright" Berry 71 Bleu Challenge / Fabscraps

Welcome .........

Today I am very excited and honoured to have been asked by the lovely Denise Van Deventer from Berry71Bleu Scrapbook Layouts to Guest Design for December!!! Thank you Denise from the bottom of my heart! Denise is also my Design Team buddy from Fabscraps, so I thought it only fitting to create my layout using the new Christmas Collection from Fabscraps called 
"Christmas Memories". I absolutely adore these patterned papers and chippies from this collection. 

The Berry71Bleu Scrapbook Layouts page has the monthly Moodboard Challenge out. You can find it  below or pop on over to Berry71Bleu Scrapbook Layouts to find out more.


And this is my interpretation of the moodboard!
Layout titled "Merry & Bright".


On my first look at the moodboard is was most obvious to me that I would be using the black and red! My favourite colour combo for Christmas I would have to say, and I also had the perfect photo!! As my son is getting older he is not as happy to be in front of the camera. These kinds of photos are a rarity! So this is one photo from not so long ago that he was happy to be a part of and I think the title sums up the photo brilliantly!


I have used a LOT of embossing powders for this one, making my own transparencies and dressing my chippies and also the metal embellishment which you can see here.


The heart wood flourish was inked and then covered with a great deal of Crackle Accents to achieve these cracks. The Fabscraps title "Merry & Bright" was embossed several times to give a desired dimension to it, then it was sprinkled with gold embossing powders to make the title pop.


Oh and how I love my lace. Well there is plenty here to lay your eyes upon. I have tucked a lace motif under the base of the photo matting. I firstly spritzed it with a charcoal spray but it didn't give me the intensity I was looking for so I then decided to paint it with my Dusty Attic acrylic paint (Soot), and it was perfect. I highlighted areas with some Dusty Attic Vintage Gold and also a dry brushing of gesso.


This fabulous Fabscraps chipboard Candle and Holly was the actual starting point to my layout. It has been dressed with embossing powders in differing sections. The holly leaves were outlined and coloured with a little distress ink and then covered with clear embossing powder.


And from a different point of view.
I hope I have inspired you in some way to use this month's Berry71Bleu Moodboard
There is so much inspiration that can be taken from it.
Thank you for looking and until next time happy scrapping.

Tina xx


Materials List


Fabscraps Christmas Memories - Christmas Tags C79 008


Fabscraps Christmas Memories - Working Elves C79 004


Fabscraps Christmas Memories - Father Christmas C79 001


Fabscraps Christmas Memories - Christmas Decor C79 002


Fabscraps Christmas Memories - Christmas Children C79 007
Fabscraps - Merry & Bright DC79 005


Fabscraps - Candle and Holly DC79 013  

Fabscraps Metal Embellishments     

Other Products

Lace Motif
Lace
Dusty Attic Acrylic Paint (Soot) DA0925
Dusty Attic Acrylic Paint (Vintage Gold) DA0926
Liquitex Gesso
Ranger Archival Ink Jet Black
Ranger Gold Embossing Powder
Ranger Black Embossing Powder
Ranger Distress Ink - Black Soot
Ranger Distress Ink - Crushed Olive
Ranger Distress Ink - Forest Moss
Ranger - Emboss It Dabber
Ranger Crackle Accents
Daler Rowney  Acrylic Artists Ink - Black
Splatter Brush
Transparency Paper
Cocoa Vanilla Flowers (Tis' the Season)
Prima Marketing Inc.
Prima Marketing Flowers Inc. Metal Embellishments #583552
Prima Marketing Inc. Clear Stamp  #579210
Stampin' Up Stamps - Flourish
Petaloo International Flowers
Miscellanous Christmas Berries
Kaisercraft Wood Flourish (Heart)
Kaisercraft Acrylic Stamp - Script
Kaisercraft Black Rhinestones
Stampin' Up Stamps - Flourish

Tuesday 8 December 2015

"Memories Documented" Dusty Attic Design Team creation using the December Mood Board

A very warm welcome and thank you for visiting here today. 

Tina here! I have my next Design Team creation for Dusty Attic using this months beautiful beautiful Moodboard. I nearly fell off my chair when I saw this and for so long I have waited to be able to create with these colour combinations. Although as usual I changed it up a little.


This is my interpretation of the mood board........"Memories Documented".

I looooooove using greens and browns and I instantly knew which paper collection would suit. And this particular one has been sitting very quietly in a pizza box under my desk waiting to be used for such a special occasion.


 I love to fussy cut floral and foliage images. Don't ask me why, because I just can't explain it. I also love the challenge of jigsawing all the pieces together to make them work on a page. 


After all the fussy cutting was done I dressed all my chipboard goodies with a layer of gesso and let them dry. This Dusty Attic Lace Border # 3 DA 1344 was dressed with a little Walnut Stain (only very lightly though) and then top dressed with a little of Rangers Star Dust Stickles to make it sparkle. It was cut and tucked in and under the top of the page where the first fussy cut piece sits.


As you can see here the remaining pieces of my Dusty Attic goodies were dressed with coatings of distress inks. Some were drawn on and for some I just used my finger to apply colour and blend them together. A rather good coating of Dusty Attic's Dusty In Colour Clear Crackle Varnish gives this end result with these cracks. I love it. I always leave it to dry naturally as I feel a better outcome is achieved. A good coating of gesso was then rubbed into each piece to highlight cracks in certain areas and then the remaining gesso was wiped off. Below are the other Dusty Attic goodies which I have used for this page.


French Flourish 2 pack DA 0273


I have used the French Flourish top and bottom of the journal cut out shapes to frame it.


My wonderful husband has happily cut in half a bundle of wooden spools so as they sit flatter on my pages. These spools have been wound with a fine twine and inked and dry brushed with gesso. The added Tim Holtz metal embellishment fractions are just so cute I couldn't resist. It has also been inked and dry brushed with gesso.


These Dusty Attic titles are just so cute and a perfect size to sit on a journal card. I have added a little of Ranger's Star Dust Stickles to make this sparkle and shine.


Here you can see the fussy cut elements intertwined with the Dusty Attic foliage. I have used two sizes of the Dusty Attic foliage to give a more realistic feel to the page. They are as listed below. 


Dusty Attic Foliage #2


Leafy Stem #5 DA 1144

Dusty in Colour Clear Crackle Varnish

Dusty In Colour - Clear Crackle Varnish

Well that is all from me today. So hope you enjoyed this layout.
Remember you have until the end of December to upload your interpretations of this months
 mood board.

Until next time.....happy scrapping.

Tina xx

Tina Ollett

Other Materials Used

Lemon Craft House of Roses Collection 

Dwustronny papier do scrapbookingu, Dom Róż - Herbaciane róże

Lemon Craft House of Roses - Tea Roses

Dwustronny papier do scrapbookingu, Dom Róż - Czas płynie

Lemon Craft - House of Roses - Time Flies

Scrapbooking paper, House Of Roses, Labels 2

Lemon Craft - House of Roses Labels 2

Stack of basic scrapbooking papers - House of roses
Lemon Craft -Stack of basic Scrapbooking Papers - House of Roses - PBD 006

Prima Marketing Inc. Flowers
Prima Marketing Inc. Resin (Clock)
Wooden Sewing Spools
Hessian Twine
Liquitex Gesso
Tim Holtz Metal Embellishment Fractions
Ranger Distress Inks (Walnut Stain , Vintage Photo and Forest Moss)
Sanding Block
Distresser


Special Guest

Special Guest
2017