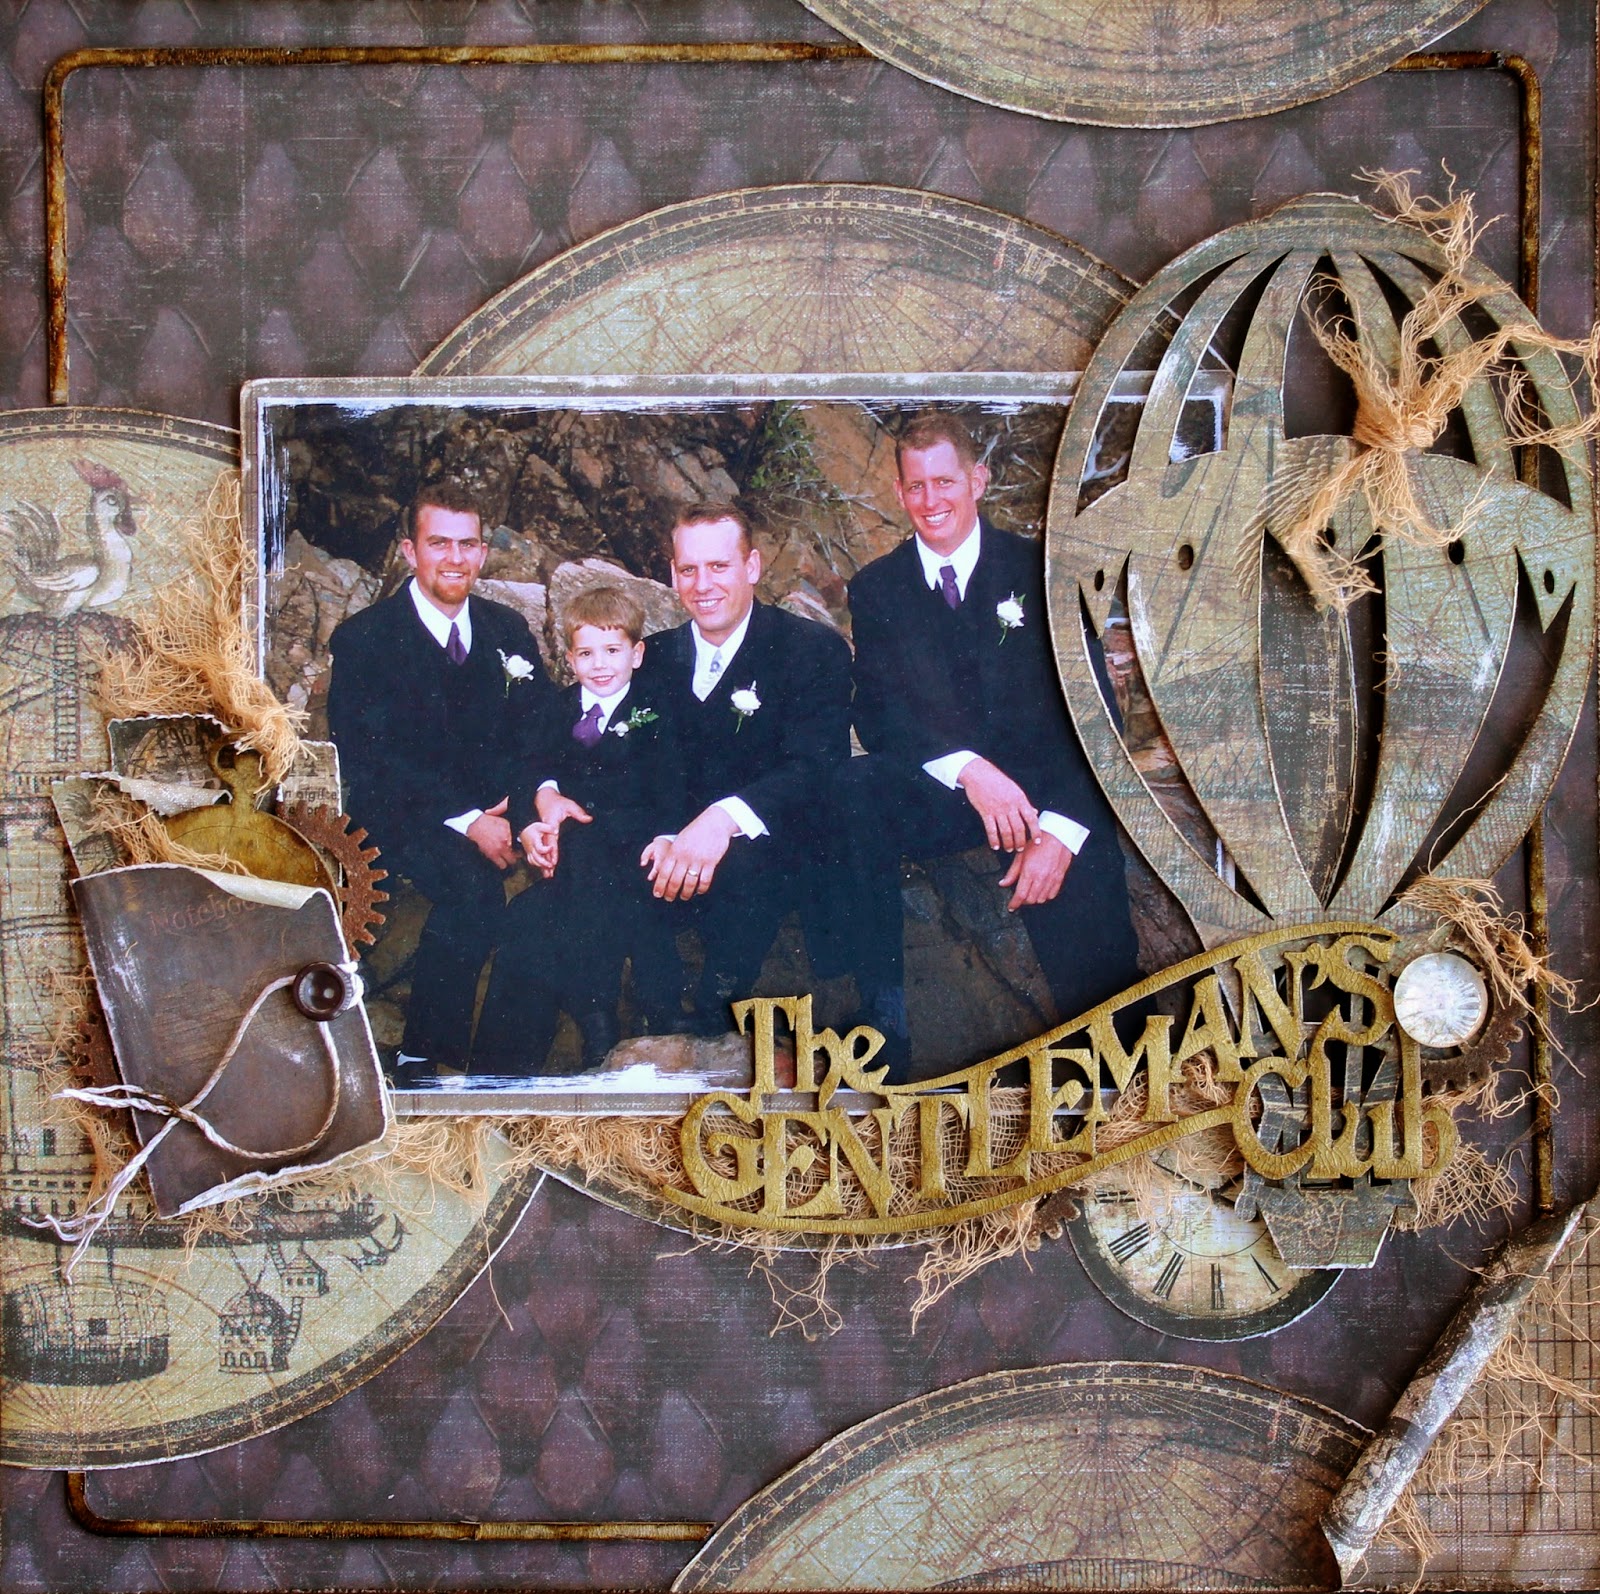
Welcome back and a big hello. Today I am very excited to share with you my very first layout for the Fabscraps Fabulicious Design Team using The Gentleman's Club Collection. Yay!
This photo has been sitting in my wedding box for so long, so I am also so very happy to be using it. These four men are a big part of my life. Of course my husband (centre) his brother to the left and his best buddy and partner in crime to the right and my gorgeous boy, Hayden sitting on his knee. But boy doesn't time fly so fast. Hayden is soon to turn 15!!
So scroll on down and see all the close-ups with a materials list and detailed instructions.
Some Close-ups.........
Chipboard title has been covered with liquid pearls (gold pearl) and randomly inked and then covered with crackle accents. Awesome effect for a vintage styled layout.
Used the same technique on the pocket watch which I tucked into the notebook along with some rusted cogs and tickets from Gentleman's Club Journal Book. Lots of nice little bits and pieces in this book.
The notebook was also cut from the Journal Book. I have distressed it and folded it up. Tied a piece of jute around and old button.
Have used a clock sticker from The Gentleman's Club Stickers and adorned it with a cabochon.
This chipboard Hot Air Balloon is just awesome. Covered it also with a precut piece from The Gentleman's Club Journal Book.
Well I hope you have enjoyed this. Let me know what you thought!
Remember to keep scrolling for the Materials List and Instructions.
Thanks for visiting and I hope to see you again here soon.
Tina
“The Gentleman’s Club” – Tina Ollett
For This Layout You Will Need
· Fabscraps – The Gentlemen’s Club C66
Collection – C66 066 (Man On Time) x 1, C66 033 (Airships) x 2.
· Fabscraps Chipboards – DC66010 – DC66
002 – DC66 015
· Fabscraps Elements – Gentlemen
Pictures ST66 002- Gentlemen’s Club Journal Book MC66 001 A
· Photograph – 5 x 7 inch Landscape
· Extras cabochon, tea stained muslin,
jute, 2 x little cogs, button, rusting powder, liquid pearls ( Gold Pearl) ,
Distress Ink (Walnut Stain), Crackle Accents.
Instructions:
1.
Distress
patterned paper (Man On Time C66 066) and ink with Walnut Stain.
2.
Cut
both globes from 1st piece of patterned paper (Airships C66 033).
Distress and ink randomly with Walnut Stain. Take the two full sized globes and
adhere to (Man On Time C66 066) as shown in layout. Cut another globe down
smaller from 2nd piece of (Airships C66 033) and adhere top and
bottom of layout.
3.
With
remaining Airships patterned paper cut photo mat and adhere sanded photo.
Adhere to left side of layout as shown. Cut a corner piece of Airships and
adhere behind (Man On Time C66 066) right bottom corner and curl up the top
piece and adhere in place.
4.
From
Gentlemen’s Club Journal Book carefully cut 3 x tickets, notebook, and clock.
Distress all. Adhere clock to bottom right of photo.
5.
Cover
chipboard air balloon with matching cut out from Gentlemen’s Club Journal Book.
Roughen it up a bit with sandpaper. With the remaining outer chippie from Air
Balloon cut to make a border to go around layout. Ink randomly with Walnut
Stain ink and cover with Crackle Accents or similar and allow to dry. Adhere to
layout.
6.
With
Pocket Watch and Title chippie, cover with liquid pearls (Gold Pearl) thinly,
allow to dry and randomly cover with Walnut Stain ink. Cover with generous
amount of Crackle Accents and allow to dry.
7.
Cover
a sticker clock with a cabochon using dimensional magic or similar. Treat cogs
with rusting powder and vinegar and allow to dry. Cut both cogs into two pieces
once dry.
8.
Adhere
down all embellishing elements by firstly starting with muslin, layering it
under photo bottom and notebook and around top of Air Balloon. Mount Air
Balloon and adhere ensuring it covers the right side of photo. Tuck tickets,
pocket watch, and one half cog into Notebook and adhere a button to the front
of this tying some jute around button. Adhere to left of photo. Tuck remaining
cogs halves in as shown. Lastly adhere down title and cabochon clock which is
mounted.
9.
All
done! Just frame and hang!


This looks wonderful.. very masculine!
ReplyDeleteThanks so much for your lovely comments Lizzy! Greatly appreciated. xx
DeleteLove it Tina ��
ReplyDeleteThank you Miss Rosebud. Hoping you are well. Love ya. xx
Delete